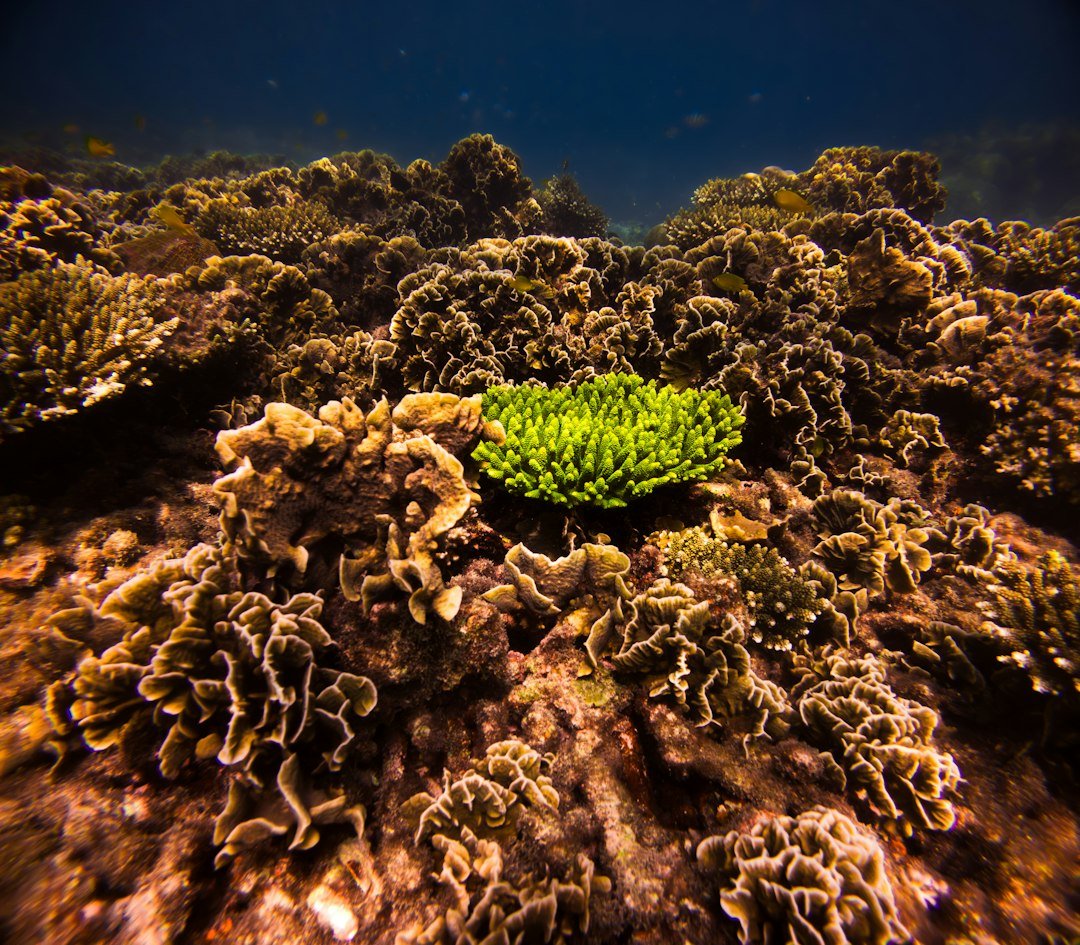
You surface after a cold-water dive, check the reef shots on the boat, and every grey rock, kelp blade, and diver’s skin has turned green. To understand how to avoid green tint in underwater photos, start with the real cause: temperate water removes warm red and orange wavelengths quickly while suspended particles scatter the remaining light, so your camera records a scene that is genuinely dominated by blue-green light. Get closer. Correct colour begins underwater, not on a laptop.
The most reliable fix is to shoot RAW, set a useful white balance for the depth and conditions, then place a proper light source close enough to illuminate your subject without lighting up every particle between lens and subject. Temperate water can look green at surprisingly shallow depths. A sunny surface does not guarantee neutral colours below it.
How to avoid green tint in underwater photos
Green tint is usually a colour-balance problem, but it can also be a distance problem. Water absorbs red first, then orange and yellow, leaving the camera with a stronger green or cyan signal to interpret. That happens fast. In plankton-rich coastal sites, visibility and colour quality may change across one dive because a cloud passes, the tide turns, or you move from open water into a shaded kelp area.
Do not treat white balance as a rescue button for every frame. If the subject is several metres away, there may be too little red information in the file for editing to restore cleanly, especially in a JPEG. Distance matters most. A close subject lit by a strobe contains real warm colour data; a distant subject lit only by green ambient light does not.
Start with RAW capture
RAW is the easiest margin of safety for underwater colour because it records far more white-balance information than a processed JPEG. It gives you room to adjust temperature and tint afterward without the colour banding, crushed shadows, and strange magenta patches that can appear when a heavily green JPEG gets pushed too hard. RAW helps. It does not create missing red light.
If your camera offers RAW plus JPEG, use it while learning. The JPEG gives you a quick reference on the boat, while the RAW file gives you a flexible edit at home. Check storage first. Larger files can fill a card quickly during a two-dive day, particularly when shooting bursts around moving fish or seals.
Set white balance at the depth you are shooting
Auto white balance can work near the surface or with a strobe-dominated close-up, but it often leaves temperate-water scenes green because the camera is trying to make a broad blue-green frame look neutral. Try a custom white balance at your planned shooting depth. Use a white, grey, or neutral slate held in the same ambient light that falls on the subject.
Take the reading while facing the direction you expect to shoot. Keep it simple. If you descend another several metres, move into a darker gully, or switch from ambient-light wide shots to strobe-lit macro, repeat the white balance because the colour of the available light has changed.
- Set the camera to RAW or RAW plus JPEG.
- Descend to the depth where you will begin shooting.
- Hold a neutral slate about the same distance from the camera as your subject.
- Fill the frame with the slate and set custom white balance.
- Take a test image, then inspect the histogram and colour rather than trusting the rear screen brightness alone.
Some compact cameras limit custom white balance underwater, and some action cameras offer only preset colour modes. Use the deepest workable preset recommended in that camera’s current manual, then test it at your local site before a trip. Menus differ. A preset labelled “underwater” may look acceptable in clear blue water yet go too magenta or too flat in green coastal water.
Use light and distance to put red back
A strobe or video light restores warm wavelengths only where its beam reaches. Place the light close to the subject and keep the camera-to-subject distance short, because the light must travel through water to the subject and then the reflected light must travel back to your lens. Water wins. A powerful light mounted far away is still inefficient in murky water.
For macro and fish portraits, try to work within roughly arm’s reach when conditions and marine life allow. Aim strobes slightly outward rather than directly at the lens axis, then adjust their angle until the subject is lit but the water in front of it stays dark. This reduces backscatter. It also preserves contrast, which makes colour correction look more natural.
| Shooting situation | Best first approach | Common mistake |
|---|---|---|
| Close macro subject | Two low-power, outward-angled strobes or a close video light | Pointing lights straight ahead and lighting particles |
| Fish portrait at short range | Custom white balance plus moderate strobe power | Shooting too far away for the strobes to help |
| Wide kelp or wreck scene | Ambient custom white balance, a colour filter if suitable, and a close foreground | Expecting strobes to colour a distant background |
| Action camera footage | Manual or underwater colour setting, fixed exposure where possible, and a close light | Relying on automatic colour correction through changing depth |
For wide-angle scenes, use a strong foreground subject within light range and accept that the distant background may retain a blue-green cast. That colour can look realistic. Trying to make every distant water column neutral often creates an artificial orange foreground or noisy purple shadows.
Control exposure before editing colour
Underexposure makes green water look heavier and dirtier because brightening the file later lifts noise in the blue-green channels. Expose carefully. Protect bright sun patches and reflective sand, but avoid leaving your main subject so dark that recovery is required.
Watch the histogram if your camera provides one. A small amount of clipping in glittering surface reflections may be less damaging than a completely underexposed diver’s face or fish, but each scene is different. Review the RGB channels when available. If green is crowded against the right edge while red is weak, a major colour correction may produce an unnatural result.
Manual exposure is useful when the camera keeps changing brightness as green water fills and leaves the frame. Set shutter speed based on subject movement and your ability to hold the camera steady, choose an aperture for depth of field, then adjust ISO conservatively. Start low. Raising ISO can be necessary, but it gives editing software less clean colour information to work with.
Edit green water without making it purple
Begin with white balance in the RAW editor, using a neutral part of the image if one exists. A grey slate, pale sand, a white tank marking, or silver fish scales can help, though none is perfectly neutral under every type of light. Make small moves. Pulling temperature warmer and tint toward magenta is often enough to remove the sickly cast.
Next, adjust overall exposure and contrast before heavy saturation. If the image still looks green, reduce green saturation or luminance gently with an HSL-style colour control rather than pushing global magenta across the entire frame. Use masks when possible. A subject may need warmth while the surrounding water should remain naturally green-blue.
A practical edit sequence is simple: correct white balance, set exposure, recover highlights if needed, add modest contrast, then make selective colour changes. Stop early. Skin, sand, and white dive gear reveal overcorrection quickly because they turn pink, orange, or violet long before the rest of the image looks obviously wrong.
Plan for temperate-water conditions
Temperate sites often have lower sun angles, cloud cover, kelp shade, plankton blooms, and particulate water. These conditions reward close-focus wide-angle, macro, and fish portraits more than distant scenic shots. Choose the shot. A clear composition at one metre usually beats a wide scene with a subject lost five metres away in green haze.
Clean your dome port or flat port before entering the water, and check for droplets after the first descent. Smears reduce contrast and can make colour correction look worse than it is. Keep your lens choice simple. A wide lens invites you to include more water, while a macro lens naturally helps you work close enough for lights and colour to matter.
Practise on an easy dive before relying on any new camera housing, filter, strobe arm arrangement, or colour mode. Check buoyancy too. Camera handling should never distract from your buddy, gas plan, depth limits, or site procedures, and no camera setting replaces sound training or local dive guidance.
FAQ
Why are my underwater photos green even in shallow water?
Shallow temperate water can still filter red light, especially under cloud cover or where plankton and sediment scatter light. Auto white balance may then interpret the scene poorly. Set a custom white balance, shoot RAW, and move closer to the subject.
Should I use a red filter in green water?
A red or magenta filter can help ambient-light video or wide photos when you cannot use lights, but it also reduces available light and can make footage noisy in dark conditions. Test it locally. Filter colour and effectiveness depend on depth, water colour, camera processing, and available sunlight.
Can editing fully remove a green cast?
Editing can improve a mild to moderate cast when the RAW file has usable exposure and colour information. It cannot reliably restore warm colour that never reached the sensor. Get close and add light when practical.
Do I need two strobes for natural colour?
No. One well-positioned strobe can produce good colour for macro, portraits, and small subjects. Two strobes make it easier to light wider subjects evenly, but poor angle or excessive power can still create backscatter and blown highlights.
Related posts
This article is for general informational purposes only and is not dive training or medical advice. Always train with a certified instructor and consult a doctor before diving if you have any health concerns. Gear specs, pricing, site conditions, and operator schedules change, so verify current details directly with the manufacturer or dive operator.
Disclosure: This post may contain affiliate links. If you click through and make a purchase, we may earn a commission at no extra cost to you. We only recommend gear we’ve researched or genuinely believe in.