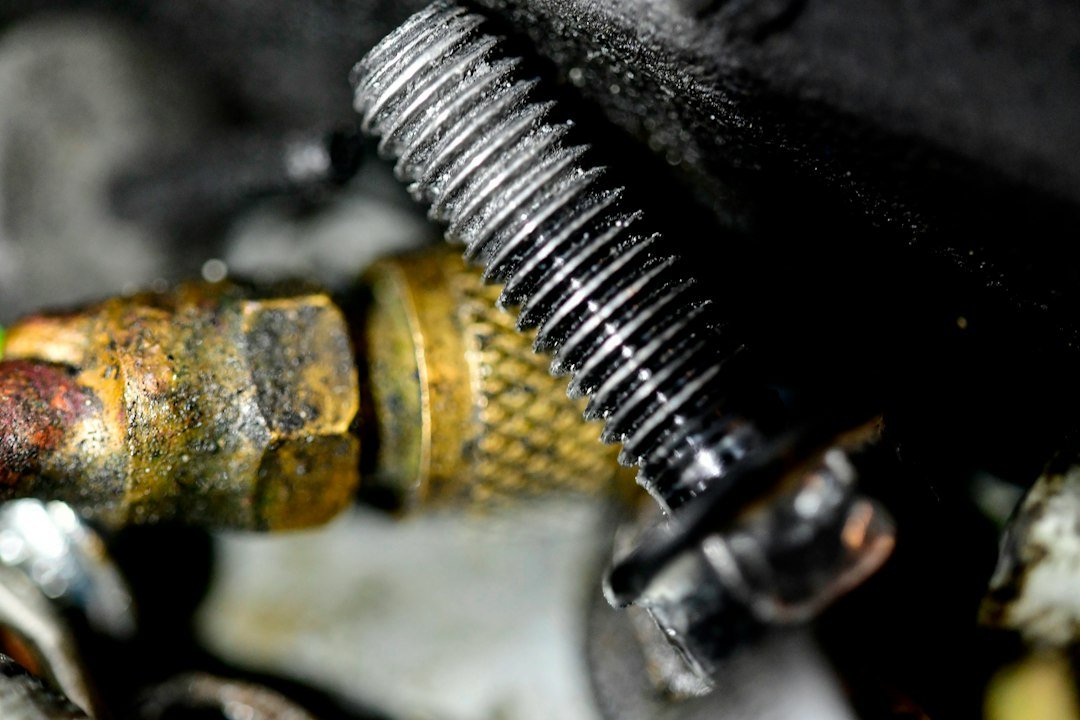
Disconnect the regulator, rinse it, dry it fully, then use your fingers and a bright light to check a regulator hose for wear before the next dive. Start dry. This simple inspection catches many problems before the hose is bent into a normal diving position or hidden behind a BCD shoulder strap.
Look at every hose on the regulator set, including the primary second-stage hose, alternate-air-source hose, pressure gauge hose, drysuit hose, and inflator quick-disconnect hose if fitted. Check them individually. A low-pressure breathing hose and a high-pressure gauge hose may age differently because their fittings, routing, and working pressures differ. If anything looks questionable, remove that regulator from diving use until a qualified regulator technician examines it.
How to check a regulator hose for wear
Lay the dry hose on a clean towel or bench where you can see its full length. Good light matters. Run a clean hand slowly along the outer cover, then bend each section gently into a shallow curve while looking for changes in the rubber or braided jacket. Do not sharply kink it. Pay extra attention to the first few centimetres beside each fitting, where repeated flexing, salt deposits, and poor hose routing often cause trouble first.
Surface cracking is the common warning sign. Fine lines that stay only in a dusty outer coating can be difficult to judge, but cracks that open when you bend the hose deserve a technician’s opinion. Replace the hose if you can see inner reinforcement, fabric, wire, bulging, a soft spot, a cut, or a blister. Do not tape it. Tape can hide damage and is not a pressure-rated repair.
| What you see or feel | What it can mean | Practical response |
|---|---|---|
| Light salt residue or grime | Incomplete rinsing or storage while damp | Rinse, dry, and inspect again |
| Cracks that open when flexed | Ageing outer cover or deeper deterioration | Stop using it and have it assessed |
| Bulge, bubble, soft patch, or exposed braid | Possible structural hose damage | Replace the hose before diving |
| Green corrosion or crust at the fitting | Saltwater exposure around metal threads | Have a technician inspect the connection |
| Kink that remains after straightening | Internal damage or unsuitable routing | Remove it from service |
Safety inspection steps before pressurizing
Check the fitting ends before connecting the first stage to a cylinder. Keep it clean. The metal ferrule should sit straight, with no deep scratches, crushing, corrosion, or movement between the hose and fitting. On hoses with a swivel fitting, test movement gently by hand. It should rotate smoothly without grinding, sticking, or side-to-side looseness.
Also inspect routing on the assembled kit. A hose should not pull tight when you turn your head, inflate the BCD, or move the second stage into your mouth. A tight bend near the first-stage port is a concern. Avoid routing that traps a hose under a tank band, rubs hard against a sharp BCD edge, or forces a repeated kink each time you stow the regulator.
- Rinse the exterior with fresh water after diving, keeping the first-stage dust cap dry and secure.
- Dry the hoses completely before storage. Moisture held under a protective sleeve can conceal corrosion or mildew.
- Inspect the full hose length under bright light, then flex it gently section by section.
- Check fittings, swivel points, hose protectors, and quick-disconnect connections for corrosion, looseness, or distortion.
- Connect the regulator only if the hose passes the visual check, then pressurize it slowly while listening for a sustained hiss.
- After pressurizing, keep your face and hands clear of suspect areas. Shut down immediately if you hear leaking or see bubbles from the hose body.
A brief sound as a second stage settles is different from continuous leaking. Trust the inspection. Bubbles at a connection can come from an O-ring, while bubbles through the hose cover itself point to a damaged hose that needs replacement. Do not try to tighten a pressurized fitting. Depressurize the system first, then let a qualified technician determine whether the issue is an O-ring, fitting, or hose.
Storage and replacement habits
Store regulator hoses loosely coiled in a cool, dry place away from direct sun, ozone-producing electrical equipment, fuel, solvents, and car trunks that get very hot. Heat matters. Do not hang a heavy regulator by one hose for long periods, and avoid packing hoses tightly around the first stage after every dive. A roomy regulator bag or a loose coil helps prevent stored kinks.
There is no universal calendar replacement date that fits every hose. Dive frequency, UV exposure, storage heat, chemical contact, and the hose material all affect service life. Follow the hose and regulator manufacturer’s published guidance, plus the recommendations from the technician who services your regulator. If the hose has visible structural damage, its age is no longer the deciding factor.
Frequently asked questions
Can I dive with tiny cracks in a regulator hose?
Do not assume tiny cracks are harmless. If lines open when the hose bends, appear near a fitting, or feel more than superficial, take the hose out of use and get a qualified technician’s assessment. A hose failure underwater is serious.
Should I use soapy water to find a leak?
Use fresh water for routine care. Household soap can leave residue and is unnecessary for normal pre-dive checks. If you suspect a leak, a dive technician can pressure-test the system with appropriate equipment and identify its source safely.
Are braided regulator hoses safer than rubber hoses?
Neither type is automatically safer. Braided hoses can feel flexible and route neatly, while rubber hoses make some surface damage easier to see. Choose a hose approved for your regulator setup, inspect it regularly, and avoid sharp bends.
What should I do if a hose leaks at the fitting?
Turn off the cylinder and depressurize the regulator. Do not keep tightening parts underwater or on a pressurized system. The cause may be a damaged O-ring, corroded fitting, incorrect assembly, or hose damage, so have it checked by a qualified technician.
Related posts
This article is for general informational purposes only and is not dive training or medical advice. Always train with a certified instructor and consult a doctor before diving if you have any health concerns. Gear specs, pricing, site conditions, and operator schedules change, so verify current details directly with the manufacturer or dive operator.
Disclosure: This post may contain affiliate links. If you click through and make a purchase, we may earn a commission at no extra cost to you. We only recommend gear we’ve researched or genuinely believe in.