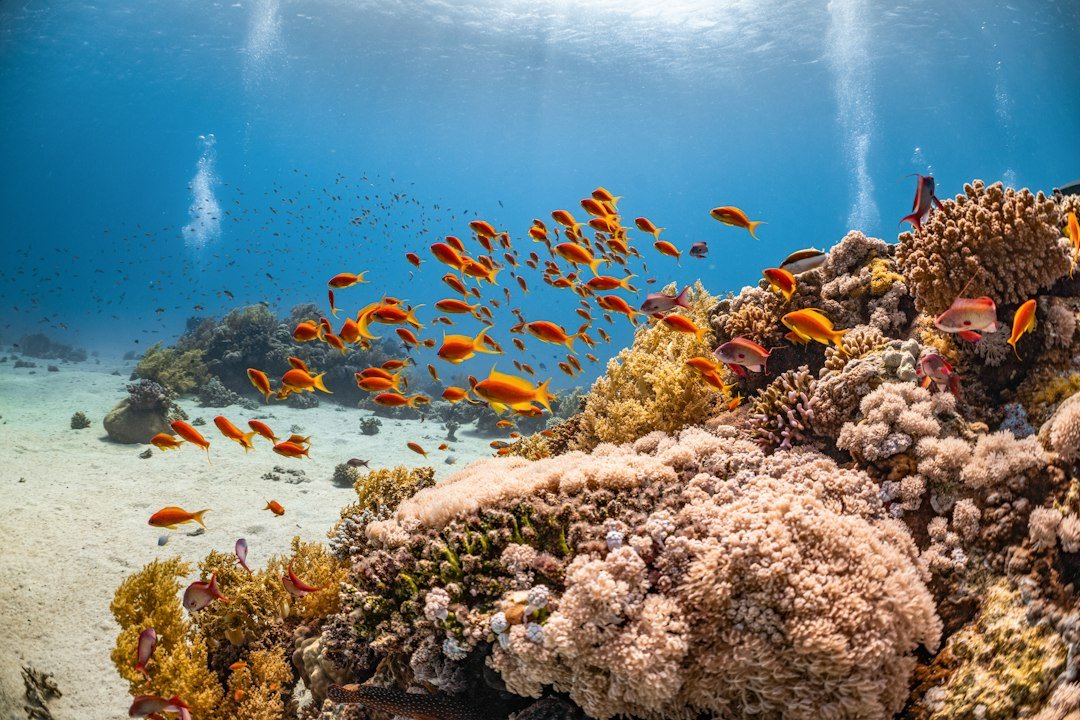
For the best diving in Bonaire, reserve a pickup truck with tank racks and confirm your first two shore entries with a local dive operator before you book flights. Start there. That one decision makes the island’s main advantage, flexible self-guided shore diving, much easier to use safely and without wasting your first morning finding tanks, parking, or a comfortable entry point.
Bonaire suits divers who like to set their own pace, spend time looking for small reef life, and return to a familiar site when conditions are good. The reef is close. Many marked shore sites have a simple roadside parking area and a relatively direct swim over sand, rubble, or shallow coral to the drop-off, although the exact entry and current can change with wind, swell, and season.
Best diving in Bonaire for shore divers
The west coast is where most visiting recreational divers spend their time because it is generally more protected and has the largest concentration of accessible sites, accommodations, tank stations, and rental trucks. Conditions still matter. A calm-looking surface does not guarantee an easy exit, especially when a small swell is lifting across a rocky shelf or when afternoon wind makes a long surface swim tiring.
The practical appeal is freedom, but it comes with responsibility. You plan the dive. That means checking the site briefing, setting a conservative turnaround plan with your buddy, monitoring weather, carrying a surface marker buoy where appropriate, and skipping a site when the entry does not feel right for your experience level.
Set up your first day
Use the arrival day to collect rental gear, test-fit your weights, drive the coastal road in daylight, and ask an operator which nearby sites have the easiest current entries. Keep it simple. A dive that starts with an easy walk, clear landmark, and familiar exit will tell you far more about your weighting and comfort than an ambitious northern site on your first morning.
- Complete the required local park fee, orientation, or checkout process that applies during your visit.
- Pick two nearby sites with straightforward entries and reliable parking.
- Agree on maximum depth, turnaround pressure, navigation plan, and lost-buddy procedure before entering.
- Leave a dry towel, water, first-aid basics, and a charged phone in the truck for after the dive.
Ask your operator about current local requirements before diving independently. Rules change. Bonaire’s marine-park access procedures, protected areas, pier access, and site closures can differ from what older trip reports describe.
Choosing a coast and site
| Area | Typical shore-dive feel | Best fit | Watch for |
|---|---|---|---|
| Central west coast | Convenient entries near resorts and town, often with close reef access | First dives, camera setup, relaxed repeat dives | More divers, vehicle traffic, changing visibility after wind |
| Northern west coast | Quieter roads, scenic coastline, deeper drop-offs at some sites | Comfortable shore divers with a settled buddy routine | Rocky entries, longer drives, stronger surge or current |
| Southern coast | Open views, salt-pan surroundings, several popular sites | Divers who want variety and easy route planning | Wind exposure, long walks at certain entries, access restrictions |
| East coast | More exposed water and less typical casual shore diving | Generally not recommended for tourist diving | Surf, current, difficult exits, rapidly changing conditions |
Do not treat a yellow roadside marker as a promise of an easy dive. Read the water first. Park, walk to the edge, watch several sets of waves, identify the exit point, and decide whether both divers can manage that exit while carrying fins and a cylinder.
Shore diving guide for entries and exits
A good Bonaire shore dive begins before the gear goes on: identify the route across the shallows, keep masks protected until you are ready, and enter with fins in hand if walking through uneven rock is safer than shuffling in them. Move slowly. Once you have enough depth, put fins on, establish buoyancy, and make the surface swim together rather than separating while each person sorts equipment.
For the exit, turn the dive before you are tired, cold, or low on gas, then allow extra time for the shallow section where surge can make footing awkward. Save energy. If conditions have worsened, do not rush toward the rocks; pause outside the surge zone, keep your buddy close, and use the safest available route or seek assistance if needed.
- Sturdy neoprene booties help on broken coral, rough limestone, and hot pavement.
- Open-heel fins are often easier for shore entries than bare-foot pocket fins.
- A mesh bag keeps mask, fins, and small accessories together during a walk-in entry.
- A reef-safe exposure suit helps with sun, scrapes, and repeated dives in warm water.
- A whistle and surface marker buoy add useful visibility, but do not replace sound dive planning.
Weighting deserves attention because salt water, rental cylinders, and a different exposure suit can change your trim. Check it early. Do a proper buoyancy check with an operator or qualified dive professional’s guidance, then make small adjustments rather than adding several pounds of lead because you feel rushed at the entry.
Sites worth planning around
Bari Reef is commonly chosen for an accessible central-west dive with plenty of time to slow down and search the reef structure for small subjects. Go slowly. It is a sensible place to practice calm navigation, confirm camera settings, and learn how your buddy moves underwater before driving farther north or south. Confirm current site access and conditions locally before diving.
1000 Steps is known for its staircase and can be a memorable dive, but the climb back up means you should think about heat, hydration, camera weight, and how your legs will feel after the dive. The stairs are real. Carry gear in manageable loads if allowed, and skip the site if the return walk will make the day less safe or enjoyable. Confirm current access and any site-specific requirements before you go.
Salt Pier is often mentioned because pilings can create striking structure and shade, yet access is commonly controlled and may be restricted around shipping activity. Check current access rules first. Never assume that a photo online means the site is open to unguided diving on your travel dates.
Hilma Hooker draws divers looking for a wreck, but depth, local conditions, and your comfort around overhead-looking structures all deserve an honest check before you go. Confirm current site conditions and access locally. Stay outside. Do not enter a wreck unless you have the appropriate training, equipment, and a plan for that environment.
Build a realistic diving day
A productive shore-diving day usually has two planned dives and room to adjust, rather than four rushed entries because an unlimited-air package makes every hour feel available. Leave space. A sample rhythm is an early dive near your accommodation, breakfast and a proper surface interval, then a second site after checking wind direction and discussing how the first entry felt.
Bring more drinking water than you expect to use, because tanks, salt, sun, and loading gear add up quickly on a dry island day. Hydrate early. If you feel unusually fatigued, chilled, or unwell, end the diving day and speak with a qualified medical professional if symptoms concern you.
Pack for the driving, not only the diving
The truck is part of the dive system in Bonaire, so organize it before leaving the accommodation. Keep it orderly. Put cylinders secured in the designated racks, keep valuables out of sight, protect regulator second stages from sand, and separate dry clothes from wet gear so your navigation tools and phone remain usable.
I would bring a broad-brimmed hat, polarized sunglasses, a reusable water bottle, a small cooler, and a spare mask strap even when renting most scuba equipment locally. Sun is relentless. A compact changing poncho or towel also makes roadside changes less awkward and keeps sand out of the truck.
Conditions, conservation, and judgment
Maintain good buoyancy over the reef and keep fins clear of coral, sponges, and the sandy bottom where a careless kick can reduce visibility for the whole group. Give wildlife space. Bonaire rewards patient observation more than chasing animals or touching reef life for a closer photograph.
Use designated access points, follow local guidance on gloves and marine-life contact, and never remove shells, coral, or anything else from the water. Take photos instead. Park fees and conservation rules support protection of the marine environment, but the exact process and current charges should be confirmed directly with your operator or the park authority.
The best diving in Bonaire is rarely the site with the most dramatic name. It is the site where the entry matches your skill, the conditions support the plan, and you have enough time to notice the reef instead of fighting your way through the logistics.
Related posts
This article is for general informational purposes only and is not dive training or medical advice. Always train with a certified instructor and consult a doctor before diving if you have any health concerns. Gear specs, pricing, site conditions, and operator schedules change, so verify current details directly with the manufacturer or dive operator.
Disclosure: This post may contain affiliate links. If you click through and make a purchase, we may earn a commission at no extra cost to you. We only recommend gear we’ve researched or genuinely believe in.