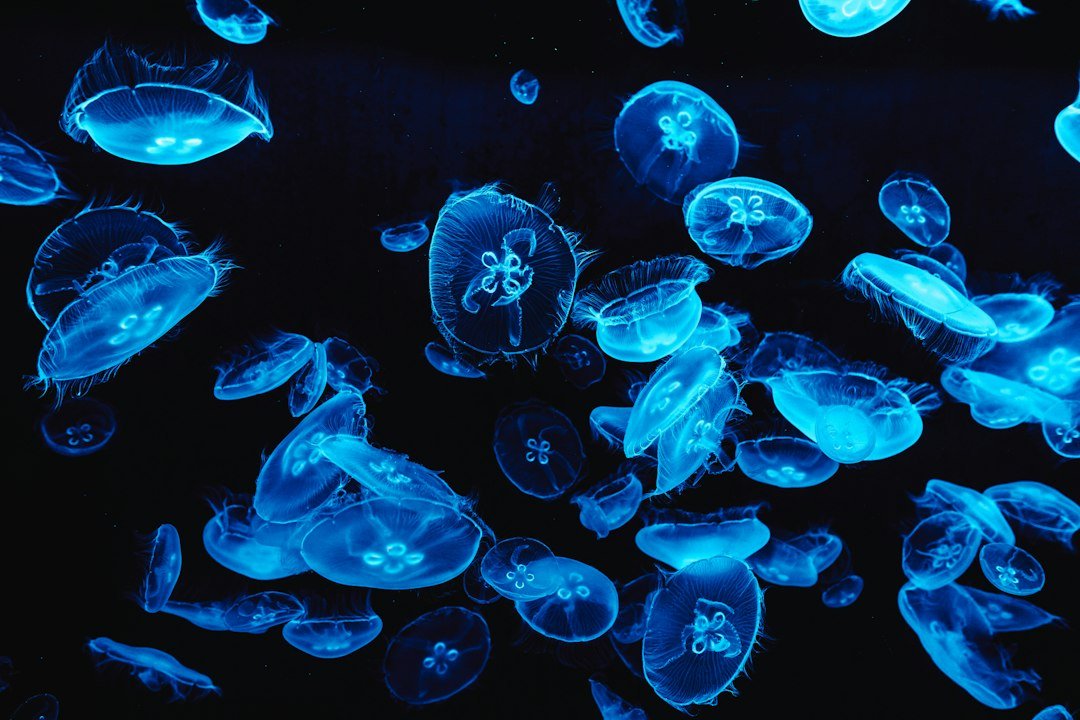
How to photograph bioluminescence underwater usually starts with a familiar moment: your torch is off, the water looks black, and a faint blue spark appears when a fin tip moves. How to photograph bioluminescence underwater means treating that spark as an extremely low-light subject, not as a normal night-diving scene. It is a low-light problem. You need a camera that allows manual exposure, a housing you can operate by feel, controlled buoyancy, and enough time to test settings without rushing the dive.
Bioluminescence is light made by living organisms, often tiny plankton disturbed by movement in the water. It can be subtle. A camera sensor may record less blue light than your eyes seem to see, while a torch, strobe, or focus light can overpower the effect in an instant. Plan to shoot the glowing trail, cloud, or pattern created by normal movement rather than trying to capture one isolated point of light.
How to photograph bioluminescence underwater safely
Start with a site where night diving is permitted and where your dive operator knows the local conditions. Stay within the plan. Bioluminescence can occur in open water, near shore, or around moorings, but visibility, current, boat traffic, and entry conditions still decide whether a photo attempt is sensible. If you have not had appropriate night-diving training, take a course with a certified instructor before attempting this type of dive.
Set up your camera before entering the water because small buttons and menu screens become slow at night. Keep it simple. Check the housing seal, test every control, use a freshly charged battery, and fit a secured lanyard or clip that will not trail across coral. A small accidental leak can end the session quickly, especially when you must keep the housing dry between exposure tests.
Agree on a light and buddy plan before descending. Do not turn off every light. Each diver needs a reliable primary light, a backup light, and an understood signal for when one photographer temporarily dims or points their beam away for an exposure. Keep track of your buddy and depth at all times, because a dark viewfinder can narrow attention more than most divers expect.
Camera settings guide for bioluminescence
Use manual mode and shoot RAW files if your camera supports them. RAW helps. Bioluminescent scenes often need white-balance and noise adjustments later, and JPEG files give you less room to correct a dark, blue-heavy exposure. Turn off automatic flash, and begin with your strobe switched off or removed if it is not needed for another part of the dive.
| Setting | Starting point | Adjust when |
|---|---|---|
| Aperture | f/1.8 to f/2.8 | Stop down only if you need more depth of field and have enough light. |
| ISO | ISO 1600 to 6400 | Raise it when the glow is too dark after you have opened the aperture and slowed the shutter. |
| Shutter speed | 1/15 second to 1 second | Use longer exposures for glowing trails, shorter ones when subject motion becomes a smear. |
| Focus | Manual focus or locked single focus | Refocus if your distance to the subject changes substantially. |
| White balance | Auto or a cool preset in RAW | Fine-tune later rather than chasing colour underwater in the dark. |
These are starting points, not fixed rules. Sensor size, lens aperture, water clarity, and the actual brightness of the organisms change the result. A full-frame camera with a fast lens generally gives more latitude at high ISO than an action camera, but careful technique still matters more than chasing a setting number.
Use the widest lens you have that remains sharp behind your port. Get close. Wide coverage helps you include a glowing fin trail, a hand movement, or a patch of water without needing extreme magnification, and it reduces the impact of small camera movements during a longer shutter speed. Avoid a fisheye only if the dome port, lens, and focus distance create soft corners you dislike.
Focus before the exposure while a buddy or your own low-power focus light briefly illuminates a nearby reference point at the intended distance. Then lock focus. Continuous autofocus often hunts in black water, and that delay can cost the frame. On a camera with manual-focus peaking, test whether the display remains usable in your housing before the dive rather than relying on it for the first time underwater.
Start at f/2.8, ISO 3200, and 1/8 second, then review one image at a time. Change one control. If the glow is too dim, lengthen the shutter first if you can hold position, then raise ISO; if the glow turns into a broad blur, shorten the shutter and accept a darker frame or a higher ISO. The histogram may sit heavily left because the scene is meant to be dark.
Stability and composition underwater
A slow shutter exposes every small movement. Hover first. Find neutral buoyancy, stop finning, tuck loose gauges and hoses, and hold the camera with both hands before pressing the shutter. A reef wall, sandy bottom, or mooring line can provide a visual reference for your composition, but do not grab marine life or damage the site to brace yourself.
Try to give the glow a shape the viewer can understand. A diver at a respectful distance, a gentle fin arc, or a cloud of sparks against a dark blue background can make the image read clearly, whereas an empty black frame with a few random pixels may not. Ask your buddy to move slowly and predictably, then shoot several frames as they complete one planned motion.
Do not create the effect by repeatedly slapping water, scraping rock, or disturbing sediment. Be gentle. Some organisms react to disturbance, but chasing a brighter image can stress marine life and ruin visibility for everyone nearby. If the glow only appears after aggressive movement, leave the subject alone and enjoy it without forcing a photograph.
Review and edit with restraint
Check your first few frames at high magnification for focus and motion blur, not only brightness. Noise is normal. A technically dark image with a defined blue trail can often be improved in RAW processing, while a completely blurred exposure cannot be rescued. Do not judge every frame by the rear screen alone, since that screen can look bright against dark water.
In editing, lift shadows carefully, reduce high-ISO noise modestly, and avoid pushing saturation until all the water turns electric blue. Keep the scene believable. Cropping can help if a small glow sits near the edge of a wide frame, although heavy cropping makes sensor noise more obvious. Save an edited copy and keep the original RAW file so you can revisit it as your editing skills improve.
FAQ
Can I use a strobe for bioluminescence photos?
Usually, leave it off for the actual bioluminescence exposure. Strobe light illuminates particles, reef, and divers much more strongly than the self-made glow, so it can hide the effect and create backscatter. You can take a separate lit portrait before or after the dark exposure if conditions and your buddy plan allow it.
Can an action camera photograph bioluminescence?
It can record bright events, but results are often limited because many action cameras have small sensors, fixed wide lenses, and restricted manual controls. Expectations should stay modest. If your model offers a night mode or manual shutter and ISO controls, test it on land in a dark room before the dive and keep the camera very steady.
Why are my photos black when I can see the glow?
Your eyes adapt to darkness far better than a typical camera preview suggests. The exposure is likely too short, the ISO too low, the lens aperture too narrow, or focus and framing are aimed at a darker area than the visible glow. Open the aperture, extend shutter time carefully, and make a test exposure before changing several settings at once.
What is the best lens for this subject?
A fast wide-angle lens is usually the practical choice because it gathers more light and lets you work close to the action. A lens around 14 to 24 mm on a full-frame camera, or an equivalent field of view on another format, is a useful general starting range. Your port choice, housing controls, and ability to hold steady matter just as much.
Related posts
This article is for general informational purposes only and is not dive training or medical advice. Always train with a certified instructor and consult a doctor before diving if you have any health concerns. Gear specs, pricing, site conditions, and operator schedules change, so verify current details directly with the manufacturer or dive operator.
Disclosure: This post may contain affiliate links. If you click through and make a purchase, we may earn a commission at no extra cost to you. We only recommend gear we’ve researched or genuinely believe in.