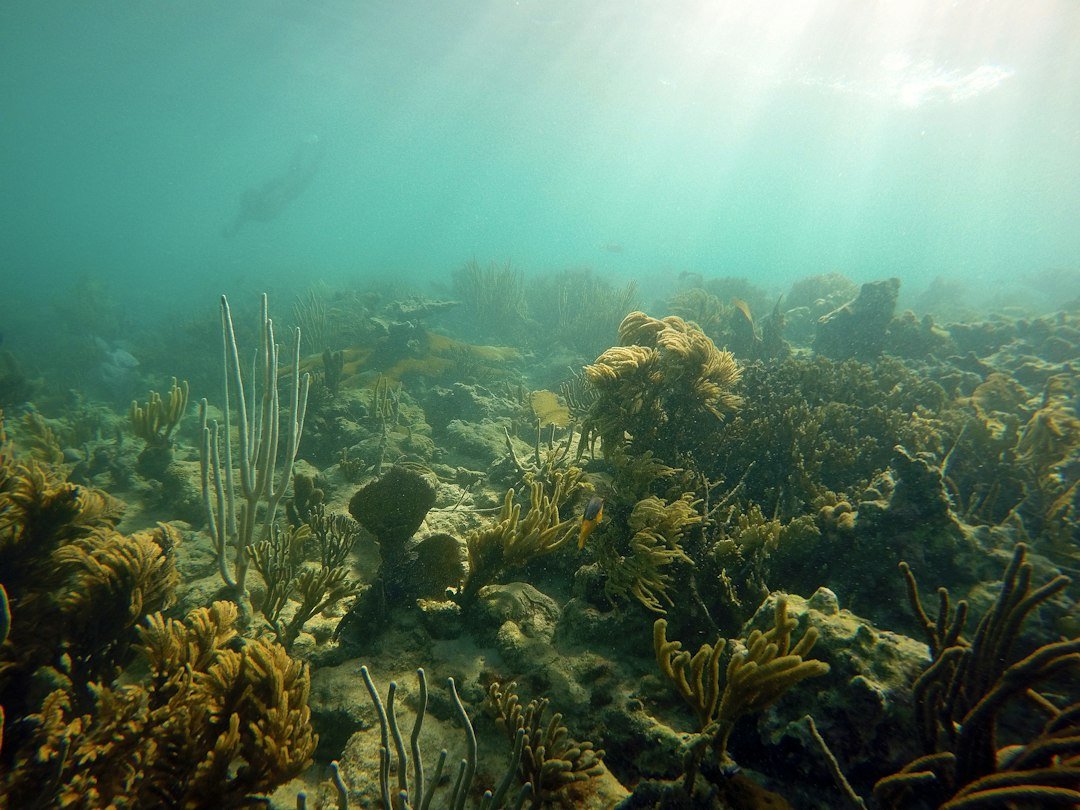
Shade the lens before you press the shutter: that is the fastest way to avoid lens flare in underwater photos when shooting toward sunlight. Keep the sun just outside the frame, or hide it behind coral, a wreck edge, or a diver’s body. Small changes matter. To avoid lens flare in underwater photos, inspect the image after your first few frames and adjust your camera position before committing to a whole sequence.
Flare is not always a failure. A controlled sunburst can add depth to a reef scene, while washed-out streaks, pale blobs, and low contrast usually pull attention away from your subject. The difference comes down to control. Your port condition, shooting angle, water clarity, and light direction all affect the result, often more than a camera body upgrade does.
How to avoid lens flare in underwater photos
Start by keeping the front of the port clean and dry before the dive. A fingerprint, dried salt, sunscreen smear, or tiny air bubble can scatter sunlight across the frame, especially when the sun sits high above you. Check it twice. Rinse the housing in fresh water after travel or boat rides, use a clean microfiber cloth outside the water, and inspect the port closely before entering.
Once underwater, look at the port edge as carefully as the subject. If you see a bubble trapped on a dome port, tilt the housing gently, give it a light tap, or angle the camera toward the surface until the bubble releases. Do not rub the port with a sandy glove. One grain can leave a scratch that catches light on every later dive.
Control the sun’s position
The easiest composition change is to place the sun behind something solid. A coral head, sea fan, overhang, kelp blade, wreck rail, or diver can block direct rays while leaving a bright rim of backlight around the scene. Move slowly. Even shifting your housing a few inches can turn a broad flare patch into a clean sunball, particularly with a wide-angle lens and a well-positioned dome port.
- Find your main subject first and settle your buoyancy before raising the camera.
- Look upward to locate the sun, then move it toward the edge of the frame rather than placing it near the middle.
- Use a foreground object to cover the sun completely, then take one exposure.
- Reveal only a small part of the sun if you want rays or a sunburst.
- Review the bright areas at high magnification and change your angle if you see streaks, haze, or colored spots.
Do this before approaching marine life. A patient turtle or shy fish rarely waits while you work through five framing changes. Set the background first. Then hold position, reduce your fin movement, and let the subject enter the cleaner composition rather than chasing it toward the glare.
| Situation | Best first adjustment | What to watch for |
|---|---|---|
| Sun just inside the frame | Move it behind a reef edge or crop it out | Bright streaks across open water |
| Sun high overhead | Point slightly down and use the reef as background | Flat-looking light and a pale water column |
| Wide-angle sunball shot | Use the smallest practical aperture and hide part of the sun | Dark foreground or blown highlights |
| Close-focus wide angle | Light the subject with strobes and keep sun off-axis | Backscatter and strobe flare |
| Murky or particle-rich water | Change direction so the sun is behind you or to one side | Loss of contrast across the whole frame |
Shooting toward sunlight without washing out the scene
Shooting toward sunlight creates the hardest exposure problem because the surface can be many stops brighter than your subject. Meter for the brightest part of the water near the sun, then add light to the foreground with strobes if the composition needs it. Start conservatively. A slightly dark foreground can usually be lifted in editing, but a pure white sun area has little usable detail left.
For a sunburst, a smaller aperture usually gives the sun more defined rays, though the exact look depends on the lens and port. Use the lowest practical ISO first, then choose an aperture that protects highlights and adjust shutter speed for the blue water background. Keep within your camera’s flash sync limit when using strobes. Check your housing and camera manuals for the applicable limit rather than guessing underwater.
Use strobes without adding another flare source
Strobes can restore color and detail to a backlit subject, but poor placement may put light directly into the port or illuminate suspended particles. Keep strobe heads slightly behind the front of the housing and angle them outward so the softer edge of each beam reaches the subject. This is often called feathering the light. It reduces backscatter because the brightest part of the beam is not aimed through all the water between the camera and subject.
For a close foreground subject, begin with both strobes wide and a little above the lens axis. Take one frame. If you see a bright haze at the sides, move the strobes farther outward or rotate them away from the port. If the subject has dark edges, bring them inward gradually. Tiny changes work better than dramatic arm movements.
Be careful with a video light or focus light too. A powerful light close to the port can reflect from a dome, a flat port, or the inside surface of an accessory lens. Turn off unnecessary lights for still images, especially when the sun is in front of you. If you need a focus light, aim it low and away from the port rather than straight ahead.
Match the port and lens to the shot
Wide-angle lenses are popular for upward-looking reef scenes because they include the sun, water column, and foreground in one frame. They also make flare easier to trigger. A dome port can help create a natural field of view underwater, yet its curved surface needs meticulous cleaning and careful shade control. A flat port has fewer curved reflections, but it can still flare when direct light hits the glass at an awkward angle.
A lens hood can help on land, but many underwater housings do not allow a standard hood inside the port. Some port systems have dedicated shades or removable covers designed for their own domes. Use only accessories meant for your housing system. An improvised shade that blocks the lens view, catches a lanyard, or interferes with controls is a poor trade underwater.
Do not assume an expensive lens eliminates flare. Lens coatings can improve contrast in difficult light, but they cannot stop direct sun striking a dirty port or reflecting from an internal surface. Technique wins here. A clean port, a shaded angle, and deliberate composition usually improve the image more than changing equipment.
Check exposure and flare on every early frame
Build a quick review routine at the start of each dive. Photograph open water toward the sun, review the corners and bright areas, then photograph a dark reef subject with the sun outside the frame. Look for smears, repeated colored shapes, hazy corners, and bubbles. If the same mark appears in each image, stop blaming the water and inspect the port when conditions allow.
Use your camera histogram if you understand it, but do not rely on the rear screen alone in bright tropical conditions. The screen can make a badly overexposed image look acceptable. Zoom into the highlight area. If the sun is clipped, that can be normal, but nearby reef, diver skin, or pale sand should still retain texture when those areas matter to the composition.
Keep camera work secondary to dive safety
Do not back away blindly while trying to hide the sun behind coral. Check depth, buddy position, current direction, boat traffic risk, and your distance from fragile reef before concentrating on a shot. The photo can wait. If you are learning buoyancy, task loading can rise quickly when you add a camera and strong surface light to the dive.
Practice these angles in calm, shallow water with a buddy before attempting them on a wall, in current, or near an overhead environment. A certified instructor can help if camera handling affects your buoyancy or awareness. No image is worth an uncontrolled ascent, contact with coral, or separation from your buddy.
Related posts
This article is for general informational purposes only and is not dive training or medical advice. Always train with a certified instructor and consult a doctor before diving if you have any health concerns. Gear specs, pricing, site conditions, and operator schedules change, so verify current details directly with the manufacturer or dive operator.
Disclosure: This post may contain affiliate links. If you click through and make a purchase, we may earn a commission at no extra cost to you. We only recommend gear we’ve researched or genuinely believe in.