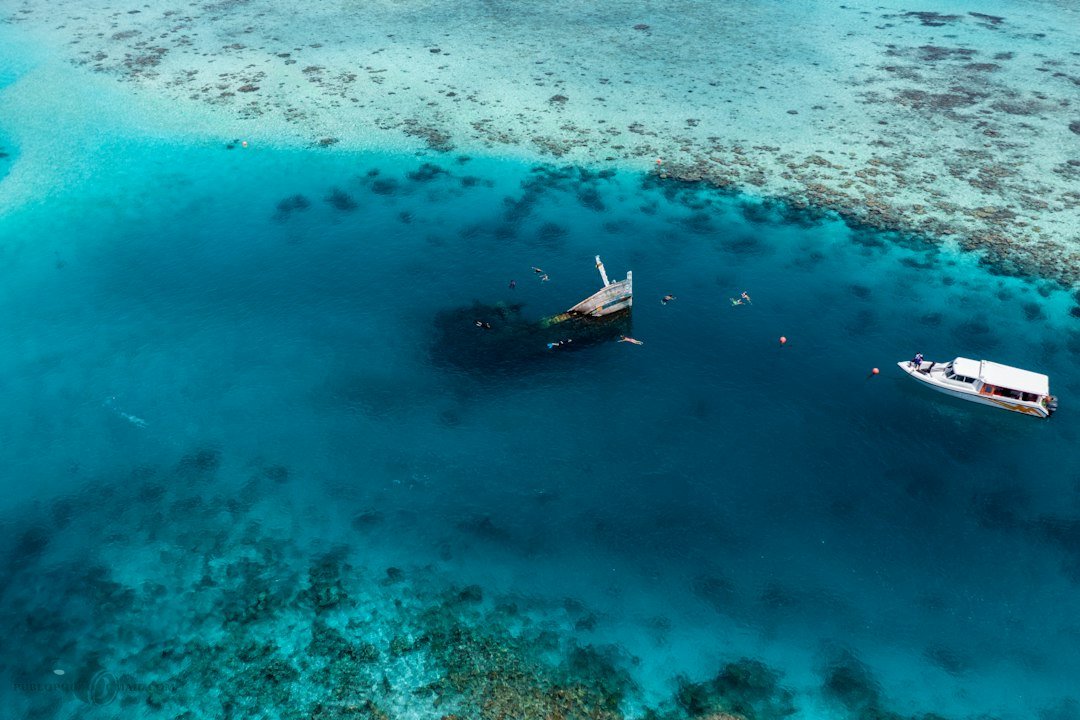
You are on the boat, the reef drops away below, and your camera frame somehow makes a huge coral wall look small. The best underwater camera lens for wide angle shots is usually the widest lens that works with your housing and lets you get physically close to the subject. Distance matters most. For reef and wreck scenes, a fisheye lens is often the strongest choice when you accept curved edges, while a rectilinear wide-angle zoom is better when straight wreck lines and a more natural perspective matter. The best underwater camera lens for wide angle shots is therefore not one universal model. It is a matched lens, port, and lighting decision.
Best underwater camera lens for wide angle shots for reef and wreck scenes
Choose a fisheye if your priority is getting close to a coral head, sea fan, swim-through entrance, or wreck feature while retaining a broad view of the water around it. Go close. A fisheye often covers roughly 180 degrees on compatible cameras, and that very broad view lets the lens sit inches from a foreground subject while still including a diver, blue water, or a large section of structure behind it. This short shooting distance also gives strobes a realistic chance of lighting the foreground before the water strips away color and contrast.
A rectilinear lens keeps lines straighter. That is useful around ship rails, cargo holds, pier pilings, and wreck interiors where a bowed horizon or curved bulkhead can look distracting. It has limits. Rectilinear ultra-wide lenses generally need more distance than a fisheye to fit the same subject in the frame, which means more water between lens and subject and often less saturated color unless ambient light is strong or strobe placement is carefully managed. For a large exterior wreck in clear water, that trade-off can be worthwhile.
Start with your camera and housing
Lens shopping starts before the lens. Check the exact camera mount, the housing manufacturer’s port chart, the required zoom gear if the lens zooms, and whether the port needs an extension ring. Small details matter. A lens that mounts on the camera may still be a poor underwater purchase if the correct dome, gear, or extension is unavailable, expensive, or difficult to pack for travel.
Read the housing maker’s current compatibility chart rather than relying on an old forum post or a retailer’s general bundle description. Port revisions happen. Manufacturers may list different port extensions for the same lens on different housing generations, and a few millimeters of positioning can affect corner sharpness, zoom operation, or whether the lens clears the port safely. Confirm it in writing before spending money.
For compact cameras and many action-camera-style setups, the decision looks different because an external wet lens may be the wide-angle option. These lenses attach underwater to a compatible threaded port or bayonet adapter. They are convenient. A wet lens can often be removed during a dive for a closer subject, but it adds bulk, needs careful rinsing, and can trap bubbles during entry if it is not flooded and checked properly.
Fisheye lenses make close work easier
Fisheyes are common in underwater wide-angle photography for a practical reason: they make very close shooting possible. The foreground looks bigger. Put a colorful sponge, anchor chain, or coral formation near the lens, angle upward slightly, and the image can retain a strong foreground while showing open water behind it. That approach is especially useful on a reef where the background is less important than shape, color, and scale.
Research-based shortlists often include system-specific fisheyes such as the OM System 8mm fisheye options for Micro Four Thirds, Canon’s RF fisheye choices, and legacy lenses such as the Tokina 10-17mm fisheye for supported DSLR mounts. Check compatibility. These are not interchangeable recommendations because autofocus behavior, crop factor, housing support, and available ports differ sharply among systems.
There are real fisheye compromises. Straight wreck rails near the edge of the frame bend, people placed at the edge can look stretched, and an over-under image with a curved horizon may not suit every composition. A fisheye also demands disciplined framing. Keep critical straight lines near the center when possible, and do not place a diver’s face or a prominent wreck detail at the far edge unless distortion is part of the intended look.
Rectilinear wide zooms suit wreck geometry
A rectilinear wide-angle zoom is often the practical purchase for divers who shoot both topside landscapes and underwater scenes. It is versatile. On full-frame cameras, zooms around 14-24mm, 16-35mm, or 17-28mm are common categories; on APS-C and Micro Four Thirds systems, equivalent coverage depends on sensor crop and the lens design. Do not choose only by the printed millimeter number.
For example, a 16mm full-frame lens angle of view is substantially wider than a 16mm lens used on many APS-C cameras, while Micro Four Thirds uses another field-of-view relationship. Sensor size changes the view. Compare the stated angle of view or the full-frame equivalent, then check underwater sample images made behind the same type of dome port you plan to use.
Well-known rectilinear options in current camera ecosystems include Sony 16-35mm lenses, Canon RF ultra-wide zooms, Nikon Z ultra-wide zooms, and Panasonic Leica wide zooms for Micro Four Thirds. Model availability changes. The useful buying question is whether a particular lens remains sharp enough at the corners behind a dome at your preferred focal lengths, rather than whether it has the broadest zoom range on land.
Rectilinear lenses reward clear water and deliberate framing. On a wreck exterior, step back enough to keep the bow, mast, or superstructure readable, then use a diver at mid-distance for scale. Stay close anyway. If visibility is limited, a wide rectilinear composition can become blue-gray water with a small dark wreck in the center, even when the subject looked impressive in person.
The dome port affects the result
A dome port is part of the optical system, not merely a clear cover. It changes the way the lens sees underwater. Larger domes can make split-level images easier and often help with corner quality on certain wide rectilinear setups, but they are more expensive, take up luggage space, and catch current more readily than a compact dome.
Smaller domes travel well. They can also enable tighter close-focus compositions with fisheyes, which is why compact domes are popular for reef subjects and close wreck details. Corners may suffer. Rectilinear lenses are generally more demanding behind small domes, particularly at their widest setting and wider apertures, so test shots at home in a pool or controlled water are useful before a trip.
Ask the housing manufacturer which dome diameter, extension ring, and zoom gear are specified for the exact lens. Write it down. A purchase that appears cheaper can become costly once a dome, extension, gear, neoprene cover, and travel case are added. Prices vary by region, so check current manufacturer and dealer pricing before comparing packages.
Use aperture and focus realistically
Wide-angle underwater images often need enough depth of field to keep a close foreground and distant background acceptably sharp. Aperture helps. Many photographers begin around f/8 to f/11 on larger-sensor systems when light and strobe power allow, then adjust for the scene, camera, and desired shutter speed. Smaller-sensor cameras behave differently, so use this as a starting point rather than a fixed rule.
Close-focus wide-angle shots make focus errors obvious. Use single-point autofocus or a reliable subject-tracking mode when it locks on the intended subject, and place that focus point on the closest important detail. Review the image. A sharp diver in the distance does not rescue a soft coral head occupying the lower third of the frame.
For wreck penetrations or low-light interiors, the lens is only one part of the safety equation. Stay within your training and dive plan. No lens, video light, or compact camera makes an overhead environment safer, and a certified instructor can help divers build the relevant skills before attempting overhead photography.
A practical buying path
-
List your exact camera body and lens mount. Be precise.
-
Open your housing manufacturer’s current port chart and identify supported fisheye and rectilinear choices. Check every part.
-
Decide what you photograph most often: close coral scenes, full wreck exteriors, wreck interiors, or mixed travel diving. Be honest.
-
If close reef scenes, divers, and dramatic foregrounds are the priority, price a fisheye package with its recommended dome. Keep it simple.
-
If straight lines, larger wrecks, and land use matter more, price a rectilinear zoom package with the recommended dome and extension. Include accessories.
-
Compare the complete cost, including port, extension, zoom gear, lens cap, and any wet-lens adapter. Budget the system.
A simple worked comparison helps. If a lens costs $800 but needs a $1,000 dome and a $250 extension and gear package, its usable underwater cost is about $2,050 before taxes. A $600 lens with a $600 supported dome may be the more realistic option, even if the first lens looks better in an online land-based review. Calculate the full kit.
The sensible choice for most divers
For dedicated reef photography and close wreck scenes, a supported fisheye with a compact dome is often the most capable route because it lets you fill the frame while staying close enough for clean water and effective strobe light. It is a specialized look. For divers who want straight lines, a more conventional view, and one lens that also works well above water, a supported rectilinear ultra-wide zoom is usually the more flexible purchase.
Buy the lens package your housing can support properly. That is the key. A slightly less exotic lens behind the correct port will generally be more useful than a theoretically perfect lens paired with a compromised dome or an incomplete setup. Practice buoyancy and camera handling in easy conditions first, and seek guidance from a certified instructor if new equipment changes your task loading underwater.
Related posts
This article is for general informational purposes only and is not dive training or medical advice. Always train with a certified instructor and consult a doctor before diving if you have any health concerns. Gear specs, pricing, site conditions, and operator schedules change, so verify current details directly with the manufacturer or dive operator.
Disclosure: This post may contain affiliate links. If you click through and make a purchase, we may earn a commission at no extra cost to you. We only recommend gear we’ve researched or genuinely believe in.