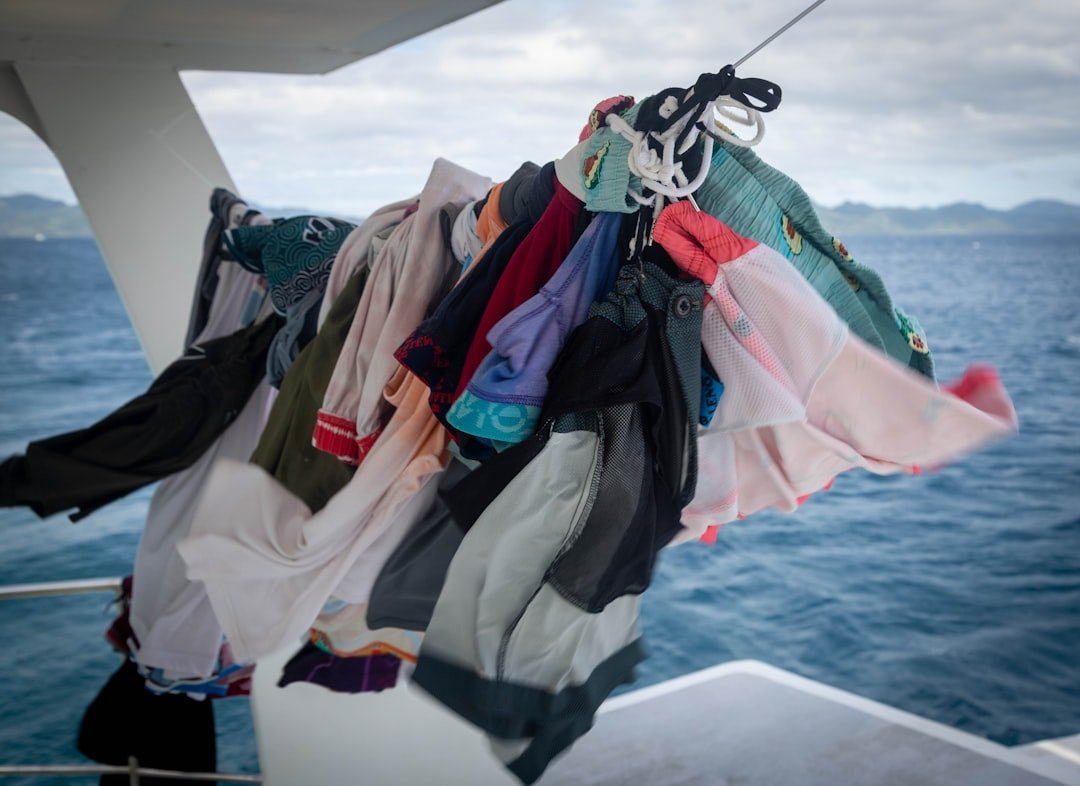
You get back to the hotel after two boat dives, the shower is full of wetsuits, and tomorrow’s gear is still dripping in a heap. Knowing how to dry scuba gear fast starts with getting water out before you hang anything up, because a well-drained BCD or wetsuit dries far faster than one left folded in a wet pile. Airflow matters most. If you need to know how to dry scuba gear fast without damaging it, rinse first, drain each piece correctly, and give every surface room to breathe.
How to dry scuba gear fast after a day of diving
Start as soon as practical after the final dive. Saltwater dries into crystals that can stiffen zippers, irritate skin, and leave residue around valves and buckles, while chlorinated pool water can also be hard on rubber and elastic materials over time. Fresh water is the first job. Use a rinse tank only when it is clean enough for the purpose, or rinse with a hose, shower, or basin of fresh water.
Do not throw everything together. Separate neoprene, regulator gear, electronics, and small accessories before rinsing, since a fin strap buckle or metal clip can snag a wetsuit while you are sorting through a crowded wash area. Rinse the gear that needs careful handling first, then deal with the bulky items.
A shaded place with moving air is usually the best drying setup. Direct sun can make gear feel dry quickly, but repeated strong UV exposure can fade neoprene, weaken elastic materials, and age plastics faster than shade does. A covered balcony, breezy porch, gear room, or open-sided dive center rack is generally better than a car roof or hot concrete.
Rinse and drain before hanging
Rinsing alone does not make gear dry. The fast part comes from removing trapped water from seams, boots, BCD bladders, pockets, hoses, and folded neoprene before you put items on a rack. Shake gently, then turn, open, or reposition the item so water has a clear route out.
For a wetsuit, rinse inside and outside, then hold it at the shoulders and let water run from the legs and sleeves. Turn the suit inside out after the outside has drained, particularly if the next dive is the following morning and you want the side against your skin to dry first. Reverse it later if needed. Thick neoprene needs air around both surfaces, not just a hanger through the neck.
Use a broad wetsuit hanger, a purpose-made drying hanger, or fold the suit evenly over a wide rail. Thin wire hangers concentrate weight at the shoulders and can leave the suit stretched or misshapen, especially when it is waterlogged. Do not bunch the suit over one narrow bar.
Boots and gloves often stay wet longest because their linings hold water. Rinse them, squeeze them gently without twisting hard, and tip them upside down until the first heavy drain stops. What happens next matters: standing boots toe-up over a rack or bottle lets damp air escape through the opening, while gloves dry better with their cuffs open and fingers separated where possible.
| Gear item | Fast drying position | What to avoid |
|---|---|---|
| Wetsuit or neoprene top | Wide hanger or broad rail, then turn inside out | Thin wire hanger, folded pile, strong sun |
| Boots and gloves | Drain upside down first, then leave openings exposed to air | Sealed tote or heater vent |
| BCD | Inflated lightly, oral inflator low, pockets open | Storing wet with bladder water trapped inside |
| Regulator set | Dust cap secured, hoses loosely draped in shade | Pressurized air blast into first stage or open ports |
| Mask, fins, snorkel | Separated on a rack or towel in shade | Leaving them inside a closed fin pocket or bag |
Get the water out of the BCD
A BCD can look dry while a surprising amount of water remains inside the bladder. After rinsing the exterior and inflator assembly according to the manufacturer’s instructions, add a little fresh water to the bladder only if your specific BCD manual calls for that part of the post-dive care routine. Not every inflator and dump-valve design should be handled the same way; if it applies to your model, swish the water around and drain it fully through the appropriate dump or oral inflator route.
To dry the outside, inflate the BCD lightly so the padded areas and bladder are not pressed together. Hang it by the built-in carry handle or a strong BCD hanger, with all pockets open and the oral inflator positioned low enough for any remaining water to find its way out. Reposition it once or twice as it dries, especially after a boat day when shoulder padding and the waistband have soaked up spray.
Never leave a wet BCD packed tightly in its travel bag overnight. That is how damp odor and mildew get established, and it also makes the next morning’s packing miserable. Open every compartment. Remove detached weight pockets and let them dry separately.
Dry regulators carefully, not aggressively
Regulators need a more careful approach than neoprene. Before rinsing, make sure the first-stage dust cap is clean, dry, and firmly seated, because water entering the inlet can contaminate the internal area that should stay dry between services. If the cap was wet before fitting it, dry it first rather than trapping moisture against the opening.
Rinse the assembled regulator gently in fresh water, following the manufacturer’s care instructions, with the second stages and alternate air source held so water does not freely enter through uncapped openings. Do not press purge buttons under running water unless the regulator is pressurized and the manufacturer guidance permits it. Avoid high-pressure water or compressed air, which can force water where it does not belong.
After rinsing, let the set drip in shade with hoses in relaxed curves. Avoid sharp hose bends, and do not hang the entire set by a second-stage mouthpiece or use a heater, hair dryer, or direct blast of air to hurry it along. Pat the outside dry, and if you suspect water entered the first stage or you notice unusual breathing behavior, stop using it and have a qualified regulator technician inspect it.
Use airflow without cooking the gear
A small fan is one of the most useful travel drying tools when the weather is humid or rain has moved in. Set it a safe distance away so it moves room air across the gear rather than blasting one damp spot, and leave enough space between items for that air to circulate. Heat is usually the wrong shortcut.
A dehumidified room can help on liveaboards, in tropical resorts, or during a wet road trip, although you should keep gear away from electrical equipment and avoid blocking room vents with dripping neoprene. Open windows can be better when outdoor air is drier than indoor air. For example, in very humid conditions, a fan and dehumidifier together often do more than an open balcony.
Do not use a tumble dryer, radiator, oven, heat gun, or hot hair dryer on dive gear unless the manufacturer specifically allows that method. High heat can damage glued seams, neoprene laminates, mouthpieces, silicone skirts, fin materials, and plastic hardware. Warped gear is not.
Pack smart when the gear cannot fully dry
Sometimes you have an early flight or a checkout time that makes full drying impossible. In that case, get rid of as much free water as possible, then pack damp items separately in a breathable mesh bag or a dedicated wet bag that you can open promptly at your destination. Keep regulator gear apart. Do not bury a damp regulator under wetsuits and fins.
For travel, place the least-damp items around the wettest neoprene rather than pressing everything into one compressed bundle. A microfiber towel can absorb surface moisture during transport, but replace or air it out when it becomes saturated. A soaked towel wrapped around a wetsuit simply keeps the wetsuit wet.
Once you arrive, unpack immediately and hang everything again. Check boots, gloves, BCD pockets, DSMBs, and the inside of the wetsuit, because those are common places for hidden moisture to remain after the outer surfaces feel dry. A sour or musty odor means the item needs another rinse and a longer, better-ventilated dry.
Small habits that make the next day easier
Bring a couple of lightweight accessories: a mesh gear bag, a wide hanger, several plastic clips, and a compact fan if your luggage allowance allows it. Clips help keep gloves and boots open. A mesh bag also prevents wet gear from sitting in its own runoff while you carry it from dock to room.
At the end of each dive day, take two minutes to inspect zippers, buckles, fin straps, mask straps, and hose protectors while you rinse. Small problems are easier to spot when the gear is clean and laid out, rather than the next morning when everyone is loading a boat. Check manufacturer instructions before using any zipper lubricant or cleaning product.
The practical answer is simple: rinse thoroughly, drain trapped water, hang each item in shade, and move air around it. That routine gets gear ready sooner and reduces the chance of packing a smelly, wet bundle for the next dive day. Your gear will dry more evenly.
Related posts
This article is for general informational purposes only and is not dive training or medical advice. Always train with a certified instructor and consult a doctor before diving if you have any health concerns. Gear specs, pricing, site conditions, and operator schedules change, so verify current details directly with the manufacturer or dive operator.
Disclosure: This post may contain affiliate links. If you click through and make a purchase, we may earn a commission at no extra cost to you. We only recommend gear we’ve researched or genuinely believe in.