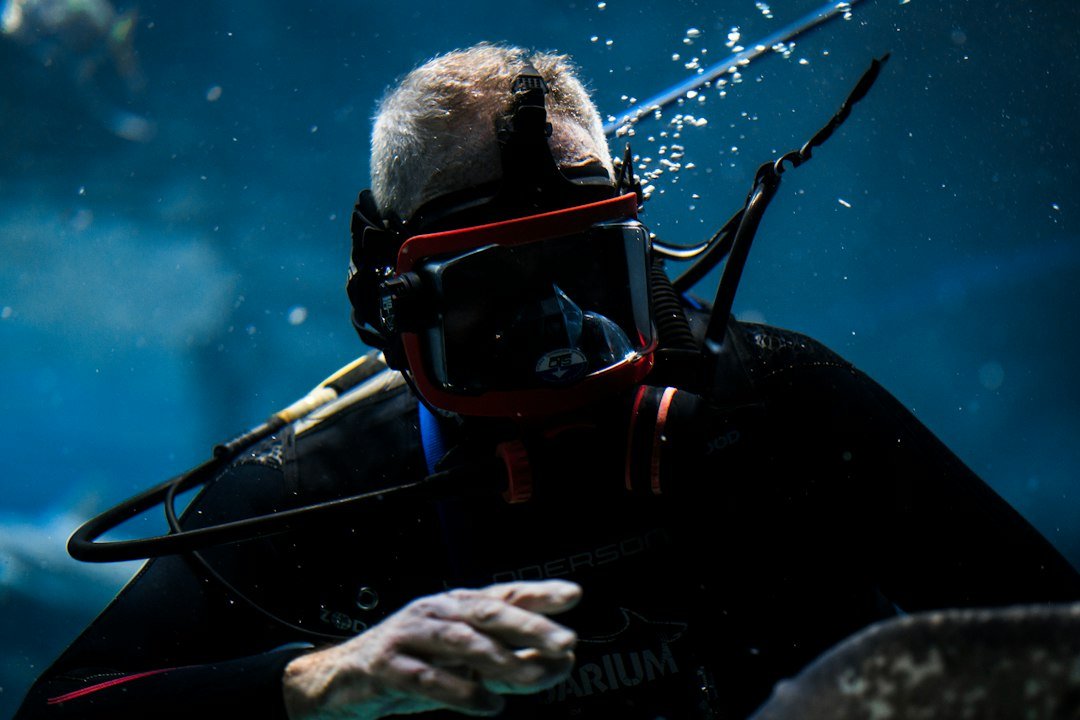
You are at the tailgate, suited up, and the mask strap snaps as you pull it over your hood. It happens fast. Knowing how to fix a broken mask strap can save a planned dive, but only if the repair holds securely and does not pull the skirt out of shape.
First decide whether the mask is usable
Stay on the surface. A torn strap is usually repairable, while a cracked buckle, split mask frame, or damaged skirt is a different problem because those parts affect how the mask fits and seals against your face. Do not rush.
Look closely at the failure point before removing anything. If the silicone strap tore near its center or near the section that sits behind your head, the mask itself is probably fine. If the strap pulled out of an intact buckle, it may simply need to be threaded back through and adjusted.
- Strap torn or stretched: Replace the strap with a compatible spare.
- Strap slipped from buckle: Re-thread it and test the buckle teeth.
- Buckle cracked or detached: Use a backup mask rather than trusting a makeshift repair.
- Mask frame cracked: Retire the mask until it can be inspected or replaced.
A mask can look fine on land yet leak badly underwater when a damaged buckle changes the strap angle. That is frustrating. If you cannot get even pressure on both sides of the mask, skip the dive or use another mask.
How to fix a broken mask strap with a spare
The best quick fix is a spare silicone mask strap that fits your buckle slots. This is cheap insurance. Many replacement straps are sold as universal, but buckle widths and locking designs differ, so check compatibility with your particular mask before putting one in your save-a-dive kit.
- Rinse sand and salt from the buckle area with fresh water if available.
- Remove the broken strap pieces from both buckles. Note which side faced inward before pulling them free.
- Feed one end of the replacement strap through the first buckle slot in the same direction as the old strap.
- Pull enough strap through for the buckle teeth or locking tab to grip it.
- Repeat on the other side, keeping the strap centered behind the mask.
- Put the mask on over bare skin or your hood and adjust each side in small, equal pulls.
- Pull firmly on both strap ends, then remove and refit the mask once to confirm nothing slips.
Take your time here. On many masks, the smooth side of the silicone strap contacts your head and the ridged side engages with the buckle, but designs vary, so use the old strap routing as your reference whenever possible. If the replacement keeps sliding, it is routed incorrectly, incompatible, or the buckle teeth are worn.
Check the strap angle
Position the strap above the widest part of the back of your head, not down at the neck. A low strap often makes divers overtighten the mask. That can crease the silicone skirt and cause the leaks that a tighter strap was meant to stop.
Use only enough tension to hold the mask in place. The skirt makes the seal. An over-tightened strap can leave pressure marks, trigger headaches for some divers, and make equalizing a mask squeeze less comfortable. If face pressure, pain, or persistent leaking is an issue, speak with a certified instructor before your next dive.
Quick fix options when no spare strap is available
A spare strap is the proper quick fix. Tape is not. Adhesives rarely bond well to wet, flexible silicone, and a taped strap can fail as soon as it is stretched over a hood.
If the mask strap has only slipped out of an undamaged buckle, re-threading it is the only field repair worth trying without spare parts. Check it twice. Pull the strap hard on land, simulate the angle it will take around your head, and confirm that the buckle holds under tension.
A purpose-made neoprene replacement strap can work if it attaches securely to your mask’s existing buckle points. These straps are comfortable with thick hoods and are easy to locate by touch, although they can be less adjustable than a standard silicone strap. Fit matters.
Some divers carry bungee cord, retainers, or improvised ties in a save-a-dive kit, but those options depend heavily on the mask buckle shape and can leave sharp ends, snag points, or a mask that cannot be adjusted properly underwater. Treat them as surface-only contingencies. If you cannot make a clean, secure attachment without sharp edges or loose loops, do not take that mask diving.
When the buckle is broken
A broken buckle is usually the point where the day changes. Use another mask. The buckle controls strap tension and angle, and a temporary lash-up may hold during a dockside test but fail after a giant stride, current entry, or repeated mask clearing.
Some manufacturers sell replacement buckle assemblies, often with screws, pins, or clips specific to that model. Replace both sides if the manufacturer recommends it, and follow its instructions rather than forcing generic hardware into the frame. Small parts matter.
Test the repair before entering
Do a dry fit first. Put the repaired mask on, look up and down, turn your head side to side, then gently pull the mask forward by the frame while holding the strap in place. The strap should stay locked, and the buckle should not twist or spread away from the frame.
Next, test the seal at the waterline or in shallow water before committing to a descent. Exhale lightly through your nose while wearing the mask, clear it once, then check whether the strap has loosened or shifted. Keep it simple.
If you are diving with a buddy, show them the repair before the dive and agree on a straightforward response if it fails. A lost mask is manageable with training, but it is still a problem that deserves a calm abort or ascent decision based on your conditions, depth, visibility, and training. Do not rely on luck.
Build a better mask save-a-dive kit
Keep one compatible spare strap in your mask box or regulator bag, ideally stored in a small sealed pouch away from direct sun. Silicone lasts well, but heat, UV exposure, and repeated stretching eventually age it. Inspect it before trips.
A practical kit also has a backup mask if you travel or dive sites where a lost or broken mask would end the day. This does not need to be expensive, but it must fit your face and be tested in water before you depend on it. New gear deserves a check.
After any strap failure, rinse the mask in fresh water, inspect both buckles under good light, and replace the strap even if you managed a temporary repair. The old tear will not become stronger. Prices vary by region, so verify the correct replacement part with the mask manufacturer or a reputable dive retailer.
The short version is simple: replace a damaged strap, re-thread a slipped strap, and replace the mask or buckle assembly when the buckle itself is compromised. A mask is basic life-support-adjacent equipment because clear vision and a reliable seal affect every part of a recreational dive. Give the repair the attention it deserves.
Related posts
This article is for general informational purposes only and is not dive training or medical advice. Always train with a certified instructor and consult a doctor before diving if you have any health concerns. Gear specs, pricing, site conditions, and operator schedules change, so verify current details directly with the manufacturer or dive operator.
Disclosure: This post may contain affiliate links. If you click through and make a purchase, we may earn a commission at no extra cost to you. We only recommend gear we’ve researched or genuinely believe in.