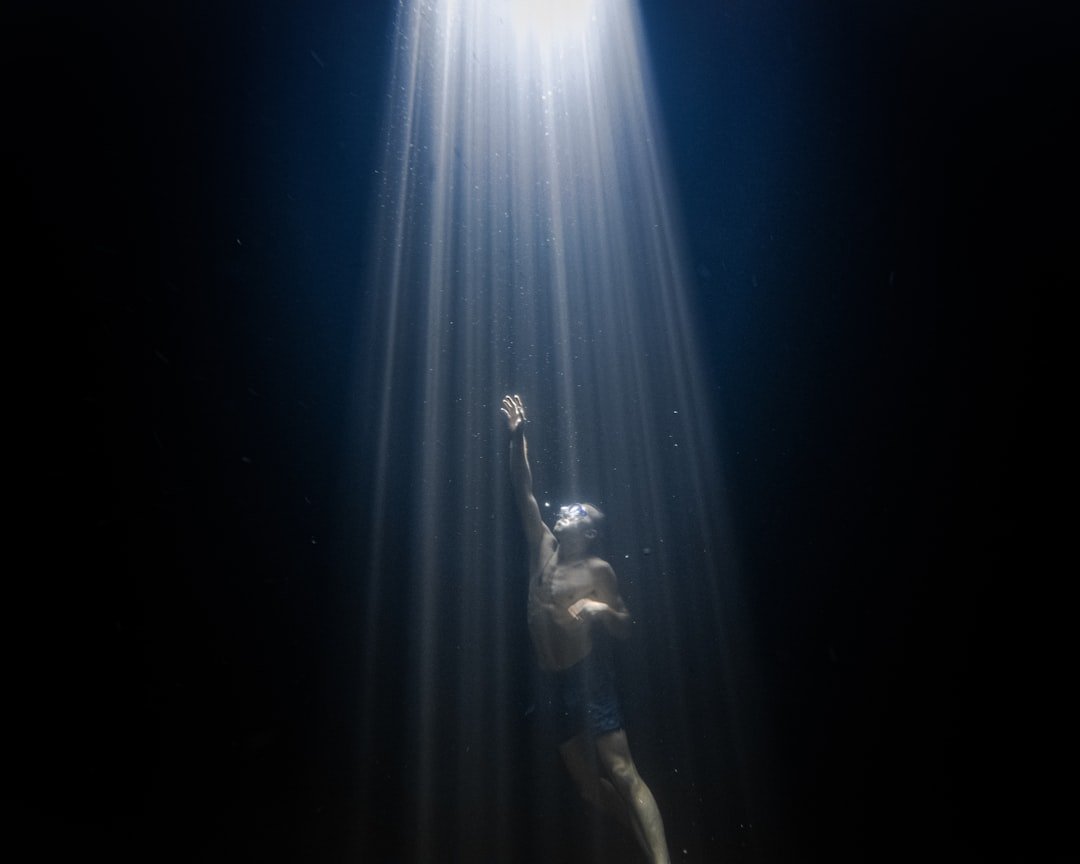
You line up a turtle, press the shutter, and the review screen shows a snowstorm of white dots around it. Frustrating, but common. Learning how to avoid backscatter underwater photos starts with one simple fact: the particles are already in the water, and your light is making them visible. Get the light off the lens axis, reduce the amount of water between camera and subject, and expose the scene with only as much artificial light as it needs. That is the practical answer to how to avoid backscatter underwater photos.
How to avoid backscatter underwater photos
Backscatter is light reflected by suspended material such as sand, plankton, silt, bubbles, or bits of organic debris. A camera flash or video light mounted close to the lens shines straight ahead, then reflects directly back toward the camera. The result is most obvious against blue water or dark backgrounds. Clear water helps. Good lighting technique helps more, because even a very clear site has particles in the water column.
The biggest improvement usually comes from getting close. Very close. Water reduces contrast and color quickly, while each extra foot between your lens and the subject adds more particles that can catch your strobe light. A wide-angle subject should often fill most of the frame before you take the photo, rather than becoming a small subject surrounded by open water. This is why wide lenses, wet wide-angle lenses, and fisheyes are so useful underwater: they let you frame a large subject while keeping the camera close.
Approach without rushing the animal or damaging the reef. Keep your fin kicks controlled and stay off the bottom, since one careless kick can turn a clean composition into a cloud of silt that lasts through the rest of the shot. Good trim matters. If buoyancy or fin technique is still taking attention away from the camera, a certified instructor can help you build those skills before you add more demanding photo dives.
Move the strobes away from the lens
On-camera flash is the classic cause of backscatter because the light source is almost in the same place as the lens. The particles reflect it straight back. External strobes on arms change that angle, so reflected light travels away from the camera instead of into it. Even compact camera users can often improve results with a fiber-optic strobe and a short tray or arm setup.
Start with both strobes wide and slightly behind the front of the housing. Think wide. Point each strobe so the inner edge of its beam just reaches the subject area, rather than aiming both heads directly at the center of the frame. This is called feathering the light, and it keeps the brightest part of each beam out of the water immediately in front of the lens. A long strobe arm helps, especially with wide-angle lenses, because it creates more separation between lens and light.
Do not assume wider is always better. If your strobes are pushed far out and aimed poorly, they can light particles at the edges of the frame or leave the center dull. For a large reef scene, begin with arms extended wide, strobes a little behind the housing, and heads angled slightly outward. Then check the corners. Adjust one thing at a time after reviewing an image.
For macro, the setup changes. The subject is near the lens, so strobes usually sit closer and angle inward with care. Keep them above or to the sides of the port rather than level with it, and avoid firing through a visible cloud of sand. A snoot can narrow the light onto the animal and leave surrounding particles dark, although it requires accurate aiming and a calm subject. Practice on a stationary object first.
Use less strobe power than you expect
Too much flash power makes suspended particles bright, especially when the subject is close or the water is green. Turn it down. Set the strobe output only high enough to light the subject at your chosen aperture, then use camera settings and distance to control the rest of the exposure. Lower power also shortens recycle time and can make it easier to take a second frame when an animal turns into a better position.
A useful starting point for close wide-angle work is low to moderate strobe power, a reasonably fast shutter speed that suits your camera, and an aperture that gives enough depth of field for the subject. Exact settings depend on camera type, lens, strobe output, depth, and ambient light. There is no universal number. Check the histogram and highlight warning if your camera provides them, then look closely for bright dots around the edges as well as on the subject.
Shutter speed does not remove backscatter by itself. It mainly changes the ambient-light portion of the exposure, while strobe power, aperture, ISO, distance, and strobe position have more direct control over flash-lit particles. Still, a faster shutter can darken blue water and make remaining specks look more obvious. Balance the background first, then add restrained strobe light to the foreground.
Troubleshooting lighting issues in murky water
When every frame has particles, stop changing every setting at once. Diagnose the source. Look at where the specks appear, whether they are evenly spread, and whether they have the same color and size. That pattern usually tells you more than a general feeling that the lighting is wrong.
- White dots across the whole frame: Move closer, lower strobe power, and widen the strobe position. Check that neither head points across the front of the port.
- Bright dots on one side: That strobe is likely aimed too far inward or sits too close to the lens. Angle it outward a little, then take another frame.
- A hazy bright foreground: You may be lighting sand, bubbles, or your own exhalation. Change your angle, wait for bubbles to clear, and keep the camera above disturbed sediment.
- Dark subject with clean water: Bring the strobes slightly inward or increase power modestly. Do not solve a dark subject by lighting the entire water column.
- Blue background is too bright: Adjust shutter speed, ISO, or aperture according to your camera system, then reassess the strobe exposure separately.
Current and surge make this harder. A slight change in position can put a stream of particles between your port and the subject, particularly near a sandy bottom or a wall where waves stir material loose. Wait a moment if conditions allow. Sometimes the best lighting fix is simply moving a few feet to a cleaner angle and shooting slightly upward into open water.
Video lights need the same discipline. They are continuous, so you can see backscatter before recording, but their beam often sits close to the lens on a compact rig. Put lights on arms, spread them wide, and angle them outward until their bright central beams overlap only near the subject. A narrower beam can help with close macro video. For wide scenes in poor visibility, video lights may illuminate more particles than they improve the image.
Choose the right angle and background
Shoot slightly upward when the scene allows. This places open water behind the subject and often reduces the amount of bottom sediment in the frame. It can also give fish a cleaner outline than a downward shot over rubble. Watch your depth and surroundings. Never drift into coral, another diver, or an overhead area just to improve a composition.
Try to keep the camera axis out of the densest particle path. If a subject is near a sand patch, position yourself so your strobes illuminate the subject from above or the side rather than firing through the sand plume. Avoid hovering directly behind another diver whose fins are stirring the bottom. This matters on popular sites, where several photographers may be working around the same subject.
Your own breathing can create trouble. Exhaled bubbles rise past the housing and can scatter light, especially when you shoot upward or hold a camera close to your face. Pause after an exhale when appropriate, settle your position, and take the frame during the clearest part of the breathing cycle. Never hold your breath underwater. Maintain normal safe breathing and prioritize buoyancy over the shot.
Check the camera and housing too
Not every white mark is backscatter. Inspect the port before entering and after the dive for salt residue, grease, tiny scratches, or a stray fiber from a towel. A dirty port can create soft flare or spots that stay in the same area of every image. Clean the port with materials approved by its manufacturer. A damaged coating or deep scratch may need professional advice rather than aggressive polishing.
Make sure no strobe, arm, focus light, lanyard, or accessory is visible in the frame. Wide lenses see more than expected. Some compact housings also have built-in flash light leaking around a diffuser or reflecting from the port, so check the housing manual and test the setup in a pool or shallow clear water before a trip. Test shots save dives.
Use a lens hood only if your housing and lens system support it properly. A hood can reduce stray side light, but it cannot cure poor strobe placement, and a poorly matched hood may appear in wide-angle corners. Verify compatibility with the housing maker. Equipment specifications and supported accessories change between camera versions.
Fix what you can in editing
Editing can remove a few distracting spots. Use a healing or clone tool at high magnification, then zoom back out to ensure the repair does not look repetitive. For an image with dozens of particles around a simple blue background, cleanup can be quick. For a school of fish, coral branches, or hair-like nudibranch details, it can take longer than the photo is worth.
Do not rely on editing as the main fix. Heavy global clarity, dehaze, sharpening, or noise reduction can make particles look harsher, create halos, or damage fine animal textures. A cleaner original gives you more room to correct color and contrast without turning the image into an artificial-looking file. Get the light right underwater whenever conditions allow.
FAQ
Can I avoid backscatter with a built-in camera flash?
You can reduce it, but a built-in flash sits close to the lens and is poorly placed for particle-filled water. Use the built-in flash only to trigger an external fiber-optic strobe if your system supports that method. For close subjects, get nearer and avoid direct flash whenever possible. External lighting gives you far more control.
Why do my photos have backscatter in clear water?
Clear water is never particle-free. Plankton, tiny bubbles, and material too small to notice with your eyes can become bright when a strobe lights it directly. Night dives make this especially obvious. The dark background makes every illuminated particle stand out, so use low power and side lighting.
Should I use one strobe or two?
One strobe can produce clean images and is simpler to manage, particularly for macro or compact systems. Two strobes give broader, more even coverage for wide-angle subjects, but only if you can position them well. Start simple. Add a second strobe when your current setup limits coverage rather than assuming it automatically solves backscatter.
Is backscatter worse at night?
Usually, yes. Your lights are the primary illumination, and night water often contains plankton that is invisible until the beam hits it. Keep the light narrow and controlled, stay close to the subject, and consider a black-background composition rather than trying to light a distant reef. Distance is your enemy here.
Can better buoyancy reduce backscatter?
Yes, because stable buoyancy helps you stay close without touching the bottom, avoid finning up sediment, and hold a deliberate strobe angle. It also reduces rushed framing. Camera gear cannot replace dive skills, so work with a certified instructor if buoyancy control needs focused practice.
Related posts
This article is for general informational purposes only and is not dive training or medical advice. Always train with a certified instructor and consult a doctor before diving if you have any health concerns. Gear specs, pricing, site conditions, and operator schedules change, so verify current details directly with the manufacturer or dive operator.
Disclosure: This post may contain affiliate links. If you click through and make a purchase, we may earn a commission at no extra cost to you. We only recommend gear we’ve researched or genuinely believe in.