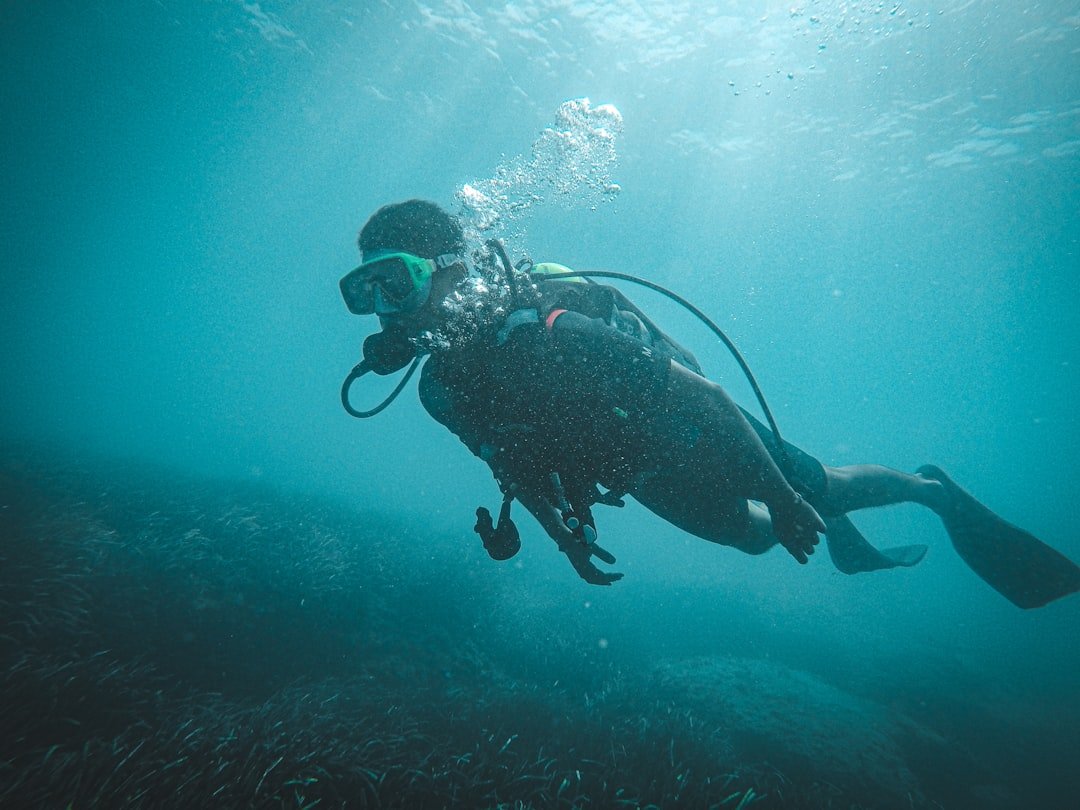
The best GoPro settings for scuba diving beginners are 4K at 60fps, the Wide digital lens, high stabilization, Auto white balance, and an ISO maximum of 400 in clear daylight. Keep it simple. These best GoPro settings for scuba diving give new users smooth footage with enough resolution to crop later, without making every dive a menu-navigation exercise.
Use 4K/60 when the sun is strong and you expect action, such as reef swims, turtles, or a buddy finning ahead. It is a flexible starting point. If the water is dim, overcast, deeper, or inside a wreck with limited ambient light, switch to 4K/30 because each frame gets more available light and usually looks cleaner.
Best GoPro settings for scuba diving beginners
For a typical daytime reef dive, I would begin with this setup and leave it alone for most of the dive. Consistency matters. Current GoPro menus differ by model, so check the official manual for the names and available limits on your particular camera.
- Resolution: 4K. It gives enough detail for a clean 1080p export and modest cropping.
- Frame rate: 60fps in bright, clear water. Use 30fps if conditions are darker.
- Lens: Wide. Avoid HyperView or other extra-wide modes at first because they can stretch subjects near the edges.
- Stabilization: High, or the closest normal high-stabilization option on your model. Avoid the strongest boost mode unless you need it, since it crops the image more.
- Color: GoPro Color for quick sharing. Choose a flatter profile only if you already plan to edit color.
- White balance: Auto for beginners. Locking a value can help on a consistent shallow dive, but Auto is more forgiving when depth changes.
- ISO minimum: 100. This keeps bright scenes clean.
- ISO maximum: 400 in clear tropical daylight, or 800 when the water is darker. Higher limits can add visible noise.
- Exposure compensation: -0.5 if your reef footage has pale sand, bright surface glare, or blown-out sun patches. Leave it at 0 if the scene already looks dark.
- Sharpness: Low. You can add a little sharpness later, while excessive in-camera sharpening is hard to remove.
- Bit rate: High, if your camera and memory card support it. Use a fast card recommended by GoPro.
Set shutter speed to Auto at first. That is enough. Manual shutter settings can produce better motion blur in controlled light, but they become awkward underwater when you move between a bright blue-water background, dark coral overhangs, and the shadow below a boat.
Choose frame rate for the available light
Frame rate is the setting beginners most often overestimate. Higher numbers are not automatically better. A 60fps clip gives smooth motion and lets you slow footage to half speed on a 30fps timeline, which is useful when a fish turns toward the lens or a ray passes close by.
But 60fps asks the camera for more light. On a 25-metre dive, a cloudy shore dive, or a late-afternoon descent, 4K/30 is often the smarter choice because it can reduce murky shadows and noisy blue water. Use the footage you can expose well.
Save 120fps for a very bright, deliberate slow-motion shot. It is demanding. It can look impressive with sunlit bubbles or fast fish, but it often turns ordinary underwater scenes darker and grainier than expected.
Use Wide lens and sensible stabilization
Wide is usually the most useful GoPro lens underwater because it lets you work close to a subject while still including the surrounding reef or open water. Get close. Water reduces contrast, color, and apparent sharpness, so filming a small subject from several metres away rarely improves with any camera setting.
A practical target is to approach slowly until the subject fills a meaningful part of the frame, while giving marine life room to behave normally. Never chase it. Good buoyancy and a calm approach matter more than resolution, and neither a camera nor a housing replaces proper buoyancy training with a certified instructor.
High stabilization helps when you are finning against surge or holding a tray one-handed. Keep your movements slow. Even excellent stabilization cannot fully fix rapid panning, sculling hands, or a camera that swings from a loose lanyard.
Turn off horizon lock for most underwater dives unless you have tested how your model crops the picture and you are filming a specific level shot. Underwater orientation changes constantly. A locked horizon can make a natural descent, ascent, or vertical reef wall look oddly constrained.
Color, white balance, and the red-filter decision
Water absorbs warm colors quickly. Red disappears early. A GoPro can improve the blue-green look with Auto white balance, but it cannot recreate every color that never reached the sensor in the first place.
For a beginner shooting video to share without editing, GoPro Color plus Auto white balance is the easiest combination. It is predictable. It can sometimes shift color during a long clip when the camera looks from blue water to a coral head, so record shorter clips rather than one continuous ten-minute sequence.
A fixed 5500K white balance can give steadier results on a shallow, sunny dive with similar depth throughout. It is less flexible. If you descend significantly, pass under shade, or switch between green and blue water, the fixed setting may leave clips too blue or too warm.
Red filters can help in clear blue water at moderate depths when you use ambient light, but they are not an automatic upgrade. Remove the filter. In shallow water, green water, low visibility, or with video lights, a red filter can make footage too dark or push colors in the wrong direction. Test it during a familiar dive before relying on it during a trip.
Set exposure limits before you enter the water
Underwater video often fails because the camera pushes ISO too high, not because the diver chose the wrong resolution. Noise is distracting. Setting ISO minimum to 100 and maximum to 400 tells the camera to preserve image quality when enough sunlight is available.
Raise the maximum to 800 only when the scene needs it, such as a darker temperate dive or an overcast afternoon. Accept the trade-off. If the footage remains dark at ISO 800, adding a proper video light for close subjects is usually more effective than pushing settings harder.
Use -0.5 exposure compensation when white sand, the bright surface, or sunbeams dominate the frame. This protects highlights. Your reef may look a little darker on the rear screen, but darker areas are often easier to lift in editing than a featureless white surface is to repair.
Do not point the camera straight at the surface for long clips if you want colorful foreground subjects. Angle upward gently instead. This can place a diver, turtle, or coral against blue water while keeping some surface light without turning the entire frame into glare.
Lights change the setup
Video lights restore color only within their effective distance. Stay close. A compact light is most useful for a small coral subject, crab, nudibranch, or dive buddy within roughly arm’s reach, not for lighting an entire reef scene across open water.
With lights on, remove any red filter and watch for backscatter, especially in silty water. Move the lights outward on arms or a tray where possible. Light aimed straight beside the lens often illuminates particles directly in front of the camera, which creates the familiar snowstorm effect.
Start with lights on a lower power setting when you are very close to pale coral or reflective sand. Check your screen. Bright video lights can create hard hotspots, and marine animals should never be cornered, touched, or repeatedly blasted with light for a clip.
Practical camera setup before the dive
Build and save two presets before leaving the boat or shore. One is enough at first, but a bright-water and low-light option makes changes faster without rushing through menus in wet gloves.
- Bright-water preset: 4K/60, Wide, high stabilization, GoPro Color, Auto white balance, ISO 100-400, EV -0.5, Low sharpness.
- Low-light preset: 4K/30, Wide, high stabilization, GoPro Color, Auto white balance, ISO 100-800, EV 0, Low sharpness.
Before entry, clean the housing lens with fresh water and a lint-free cloth, inspect the housing seal, and confirm the battery and card have enough capacity. Check it twice. A fogged housing or a nearly full card ends a dive video more effectively than any wrong menu choice.
Use a secure tray, handle, or lanyard that you can manage without dangling it over coral or other divers. Avoid clipping a camera where it can drag. If you have not practiced handling it, ask a certified instructor or experienced dive guide how to secure it without compromising your trim, awareness, or ability to respond to a problem.
FAQ
Should beginners shoot 4K or 1080p underwater?
Choose 4K if your computer, phone, storage, and memory card handle it comfortably. It gives editing room. Choose 1080p if 4K creates workflow problems, because a well-framed 1080p clip is better than 4K footage you never review or share.
Is 60fps always best for scuba diving video?
No. Use 60fps in bright water for smooth motion and optional slow motion. Use 30fps in darker conditions. The lower frame rate gives the camera more light per frame, which can produce a cleaner result at depth.
Do I need a red filter with a GoPro?
No. Auto white balance works well enough for many beginner daytime dives, especially when you are learning framing and buoyancy. A red filter is a situational tool for clear blue ambient-light dives, and it needs testing at the depths where you plan to use it.
Why does my underwater GoPro footage look shaky?
Usually the cause is fast camera movement, swimming too quickly, or holding the camera far from the body. Slow down. Keep elbows nearer your torso, use high stabilization, and take short clips while you hover or glide steadily rather than filming continuously.
Can I use a GoPro without a dive housing?
Only if your exact model is rated for the depth you plan to dive and its seals are in good condition. Verify the official depth rating. A dedicated dive housing usually adds a larger safety margin and protects the camera from knocks, but it also needs careful seal inspection before every dive.
Related posts
This article is for general informational purposes only and is not dive training or medical advice. Always train with a certified instructor and consult a doctor before diving if you have any health concerns. Gear specs, pricing, site conditions, and operator schedules change, so verify current details directly with the manufacturer or dive operator.
Disclosure: This post may contain affiliate links. If you click through and make a purchase, we may earn a commission at no extra cost to you. We only recommend gear we’ve researched or genuinely believe in.