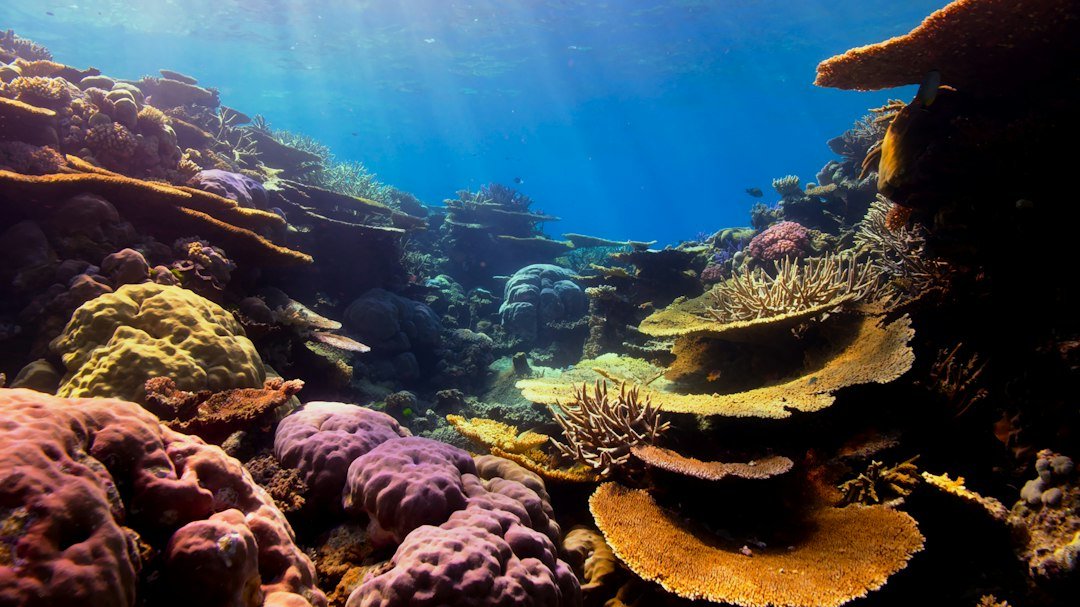
You review a reef photo after a dive and the fish looks fine, but the sand behind it is a flat white patch with no detail. Learning how to avoid overexposed underwater photos starts with separating the light already in the water from the light your flash adds. It is manageable. To understand how to avoid overexposed underwater photos, set the background exposure first, then control the subject with strobe power and distance instead of changing everything at once.
How to avoid overexposed underwater photos with camera settings
Underwater exposure has two light sources that behave differently. Ambient light comes from the sun and affects water, reef, sand, and any distant subject. Strobe light affects close subjects most strongly, often within a few feet of the camera. Keep that split in mind. A faster shutter speed usually darkens the ambient background, while aperture, ISO, strobe output, and strobe-to-subject distance have a larger effect on flash-lit subjects.
Start with ISO. Low ISO values, often ISO 100 or 200 where your camera allows them, preserve highlight room and reduce noise, which matters when you later lift shadows in blue water. Use a higher ISO only when you genuinely need more ambient light and have already checked that your shutter speed is not too slow for camera shake or moving fish. Water moves. Your settings must account for it.
Aperture controls both light and depth of field. For a close macro subject, a smaller aperture such as f/11 to f/16 on many interchangeable-lens cameras can keep more of the animal sharp and restrain strobe exposure. For a wide reef scene, f/5.6 to f/8 is a common starting area, though the best aperture depends on sensor size, lens choice, and how much foreground sharpness you need. Check your lens. Small apertures can also reveal backscatter and reduce sharpness through diffraction on some systems.
Shutter speed is your main ambient-light dial, as long as you stay at or below your camera housing and strobe system’s normal flash-sync limit. In shallow clear water, increasing shutter speed can bring a pale blue background back toward a richer blue without greatly changing a close strobe-lit fish. There is a limit. If you go beyond sync speed without a compatible high-speed-sync setup, you may get a dark band across the frame or uneven illumination.
| What looks too bright | First adjustment | What to expect |
|---|---|---|
| Blue water or sunlit sand in the background | Use a faster shutter speed | Ambient light drops while close strobe exposure changes little |
| Close fish, coral, or macro subject | Lower strobe power or move the strobes farther away | Flash-lit highlights reduce without making the background much darker |
| Whole image is bright | Lower ISO, then close aperture if needed | Both ambient and strobe exposure reduce |
| Bright patch at the edge of a frame | Reposition strobes and recompose | Reduces hot spots caused by direct strobe angle or reflective surfaces |
Use a repeatable settings adjustment guide
A repeatable sequence prevents the usual underwater problem: changing aperture, shutter, ISO, and flash power together, then having no idea what solved the issue. Make one change. Review the result before changing the next control. This method is slower for the first few dives, but it quickly becomes automatic when a turtle passes through a bright patch of water or a white anemone fills the viewfinder.
- Set ISO low, then choose an aperture based on the depth of field you need. For many compact subjects, begin around the camera’s middle-to-small aperture range. Keep it simple.
- Turn strobes off or set them very low, frame the scene, and adjust shutter speed until the water and background look slightly darker than your final target. The camera preview can mislead in sunlight, so use a histogram or highlight warning if your camera provides one.
- Add strobe light for the foreground subject. Begin at modest power and position the strobes so their outer edges light the subject rather than aiming both directly at it. Angle matters.
- If the subject is too bright, reduce strobe power first. If you are already near minimum power, increase the distance between strobe and subject, because flash brightness falls rapidly as distance increases.
- Review bright areas at high magnification. Detail should remain visible in pale sand, white fins, yellow fish markings, and reflective shell surfaces. Blinking highlight warnings are useful, but a few tiny specular reflections can be normal.
For a practical starting example, imagine a shallow reef at around 20 feet with strong midday sun and a fish within arm’s reach. You might begin at ISO 100 or 200, around f/8, and a shutter speed near 1/160 second, then set the strobes at low-to-medium output. Those are starting values only. If the water looks washed out, move to a faster shutter speed within your sync limit; if the fish has white hot spots, lower strobe output or pull the strobes back before changing the shutter.
Match the approach to the subject
Macro photography is where strobe overexposure appears fastest because the flash is close to a small subject. A white nudibranch, pale shrimp, or glossy eye can clip even when the rest of the frame looks dark. Use lower power, bring the strobes slightly behind the lens plane, and light with the softer edge of each beam. Tiny distance changes matter. If your strobe has a diffuser, it may soften the transition between bright and dark areas, although it also reduces output and can shift color slightly.
Wide-angle scenes need more attention to ambient exposure because the background occupies most of the frame. Meter the blue water or the sunlit surface area before you worry about the coral in front. Then use strobes mainly to restore color and contrast to the foreground rather than trying to light the entire reef. Water absorbs light fast. A distant background will remain blue or green even with powerful strobes.
Sunballs and surface shots are harder. Pointing near the sun puts extreme brightness into the frame, especially in clear shallow water. Use your fastest workable sync speed, a lower ISO, and a smaller aperture, then accept that part of the sun itself may clip. Protect the surrounding detail. If you cannot retain texture in nearby clouds, surface ripples, or water, reframe slightly or wait until the sun is partially blocked by reef structure.
Check the exposure tools that matter
The rear screen is useful, but it changes appearance with brightness settings and direct sunlight. A histogram gives a better warning because it shows whether tones pile up against the right edge, where highlight clipping occurs. It is not perfect. A mostly bright sandy scene naturally places more information on the right, so combine the histogram with highlight warnings and a zoomed-in review of the important subject.
Set your camera’s highlight warning, often called blinkies, before the dive if available. After a test shot, check the white parts of the animal and the sand near the subject. If only a pinpoint reflection flashes, it may be acceptable. If a broad area of the fish’s body flashes, you have lost color and texture that editing cannot reliably rebuild.
Fix common causes before pressing the shutter
Many blown underwater images come from being too close with a powerful strobe setting. Backing the strobes away a little can make a bigger difference than a minor power adjustment, especially with compact-camera strobes or internal flashes that sit near the lens. Avoid pointing a strobe straight at a reflective fish side or pale sand. Use an outward angle so the edge of the beam reaches the subject.
Auto exposure can also cause trouble when a dark reef occupies most of the frame and a bright subject sits in front of it. The camera may brighten the whole image for the reef, then clip the subject. Manual exposure gives you a stable baseline. If you use aperture priority or shutter priority, watch every frame after you recompose because the meter can react strongly to changing sand, sky, or open water.
Do not rely on editing as a rescue plan. Raw files retain more recovery room than JPEG files, but clipped highlight channels may have no usable detail left. Expose conservatively when a subject has white, silver, or bright yellow areas. A slightly dark raw image is often easier to correct than a blown one.
Frequently asked questions
Why are my underwater photos overexposed even at low ISO?
Low ISO reduces sensitivity, but it cannot counter a strobe that is too strong or too close to the subject. Check the flash first. Lower its power, increase its distance, or use a less direct angle before changing camera exposure settings that may unnecessarily darken the background.
Should I use a faster shutter speed to fix an overexposed fish?
Usually, no. A faster shutter speed mainly reduces ambient light, so it is best for an overly bright background or blue water. If a close fish is lit by strobes, reduce strobe power or change strobe distance. Separate the light sources.
What is the safest way to photograph white subjects underwater?
Start with lower strobe output than you think you need and take a test frame. White fins, coral, and pale animals show clipping quickly. Check the highlight warning on the actual white area, then increase light gradually only if the subject lacks detail or color.
Can a diffuser stop overexposure?
A diffuser can soften the light and lower the effective output, which may help with shiny close subjects. It is not a cure. Strobe power, distance, angle, aperture, and subject reflectivity still determine whether highlights clip.
Why does the camera screen look fine underwater but the photo is too bright later?
The screen may look dim or bright because of ambient sunlight, your display setting, and the viewing angle through a mask. Use the histogram and highlight warning instead of trusting screen brightness alone. Review closely.
Related posts
This article is for general informational purposes only and is not dive training or medical advice. Always train with a certified instructor and consult a doctor before diving if you have any health concerns. Gear specs, pricing, site conditions, and operator schedules change, so verify current details directly with the manufacturer or dive operator.
Disclosure: This post may contain affiliate links. If you click through and make a purchase, we may earn a commission at no extra cost to you. We only recommend gear we’ve researched or genuinely believe in.