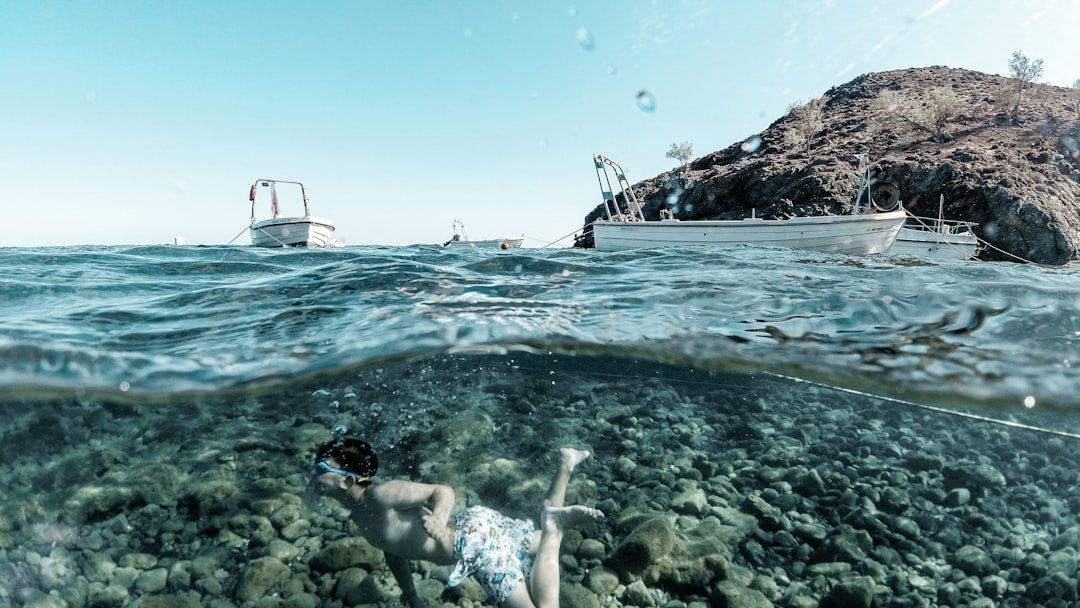
How to plan a solo dive safely starts with formal self-reliant or solo-diving training, a site you know well, and a plan that leaves room for problems. Do not treat a solo dive as a normal buddy dive without a buddy. Start there. A certification card alone does not make a dive suitable for one person, because the water conditions, shore access, equipment condition, and your current comfort level can change the risk substantially.
How to plan a solo dive safely before booking
Pick a dive that has simple navigation, a predictable exit, and conditions inside your recent experience. Keep it simple. A familiar reef, protected bay, or marked local site is generally easier to assess than a new wreck, a current-exposed wall, or a shore entry with surf and a long walk back. If you have not dived recently, rebuild your skills with a buddy first and consider a refresher with a certified instructor.
Research the exact site rather than relying on a general destination description. Check tide timing, current forecasts, wind direction, water temperature, visibility reports, boat traffic, parking or launch restrictions, and the condition of the exit at the time you expect to surface. Conditions move fast. A calm entry can become a difficult exit after a tide change or a wind shift, especially at shore sites where you must carry all of your equipment back yourself.
Certification requirements and operator rules
Certification requirements for solo diving vary by training agency, operator, insurer, and location. Check first. Some operators require a specific self-reliant or solo-diving specialty before they will allow an unguided solo dive, while others may require recent logged dives, proof of insurance, a surface marker buoy, redundant breathing equipment, or a guide even if you hold that specialty. A standard entry-level open-water certification commonly teaches buddy procedures, so it should not be assumed to include solo-diving skills.
Read the operator’s current policy before paying a deposit, then ask direct questions if the wording is unclear. Ask whether solo entries are permitted, whether a guide is mandatory, what documentation they need, and what equipment they expect you to carry. Get the answer in writing when possible. Local marine-park rules and access rules can also apply, so verify details directly with the operator or relevant authority rather than relying on an old forum post.
A solo-diving course is not a substitute for judgment. It teaches planning, gas management, navigation, emergency thinking, and redundancy under a qualified instructor’s supervision. Training matters. If you have a health concern, a recent illness, an injury, or any reason to question your fitness to dive, speak with a doctor familiar with diving medicine before planning the dive.
Build a conservative dive plan
Your plan needs a defined maximum depth, route, turnaround point, time limit, gas limit, and exit method. Write it down. The plan should also state what you will do if visibility drops, current increases, navigation fails, a primary item of gear malfunctions, or you reach the surface away from the intended exit. Solo diving removes the immediate help of a buddy, so vague plans leave too much to chance.
Set limits based on your training and the actual site, not on the deepest or longest dive you think you might manage. Leave margin. If the forecast is worse than expected, your ears will not clear easily, or the entry looks different from your pre-dive check, cancel or change the plan before entering. Calling a dive is a normal decision, not a failed one.
- Check conditions at the site. Compare the real wind, surface state, current, and visibility with your plan. Turn back if they exceed it.
- Tell a reliable surface contact. Give them the site, entry point, planned route, return time, vehicle details, and what to do if you miss check-in. Make it specific.
- Set gas limits before entering. Base them on the gas plan taught in your training, including a reserve for a controlled ascent and an unexpected delay. Do not improvise underwater.
- Choose one easy route. Use clear landmarks, compass headings, and a planned turnaround. Avoid complex swim-throughs or overhead environments.
- Confirm the exit twice. Look at it before entering and identify a backup exit if the primary one becomes unsafe. This can matter a lot.
- Make your abort signals personal. Low comfort, poor visibility, unexpected current, or equipment doubt are enough reasons to end the dive. No debate is needed.
Carry redundancy you can actually use
Redundant equipment only helps if you can deploy it calmly, maintain it, and practice with it under qualified supervision. Test it. The exact setup depends on your training and operator rules, but the core idea is an independent backup for a breathing-gas problem and dependable tools for navigation and surface signaling. Do not add unfamiliar equipment on the morning of the dive.
- A properly maintained alternate independent breathing-gas setup that matches your training.
- A compass and a backup navigation method, such as a second compass or a known natural route.
- A delayed surface marker buoy, reel or spool, and audible or visual surface signal where appropriate.
- A cutting tool suited to local entanglement hazards, carried where you can reach it with either hand.
- Backup timing or depth information if your main computer fails, plus a dive plan that does not depend on a single device.
Inspect hoses, seals, valves, batteries, and exposure protection before leaving home. Small faults become bigger underwater. If you rent equipment, ask for time to check its operation on land, and do not assume a different model will feel intuitive when you are task-loaded.
Make the dive day easier
Arrive early enough to watch the water and walk the exit without rushing. Slow down. Note waves, surge, boat lanes, fishing lines, changing light, and the effort needed to get out in full gear. If the site has a local briefing board or a staff member who knows the entry, use that information, but make your own conservative decision.
Use a clear check-in plan with someone ashore. They should know when you entered, when you intend to return, and when they should contact emergency services if you do not. A phone left in a locked car does little good. Keep emergency contacts and site access details available to the person who expects your return.
FAQ
Do I need a solo-diving certification?
You may need one for an operator, insurance policy, or local site rule. Policies differ. Even where it is not required, solo-specific training is the sensible route because entry-level buddy training does not fully cover independent gas planning, redundancy, and self-rescue decisions. Verify requirements with the operator before travel.
Can I dive alone if other divers are nearby?
Other divers nearby are not your buddy plan. They may be out of sight, on a different route, or unable to assist when you need help. Treat the dive as solo only if you have the training, equipment, plan, and permission for a solo dive.
What is the safest first solo dive?
A familiar, shallow, calm site with an easy exit is the better starting point after proper training. Keep the profile conservative. Avoid overhead areas, strong current, poor visibility, complicated navigation, and dives that need decompression planning unless your training and the specific plan support them.
Should I solo dive after a long break from diving?
Usually, rebuild comfort with supervised or buddy dives first. Start gradually. A refresher with a certified instructor can help you assess buoyancy, equipment use, emergency skills, and readiness before you take on the extra workload of solo diving.
Related posts
This article is for general informational purposes only and is not dive training or medical advice. Always train with a certified instructor and consult a doctor before diving if you have any health concerns. Gear specs, pricing, site conditions, and operator schedules change, so verify current details directly with the manufacturer or dive operator.
Disclosure: This post may contain affiliate links. If you click through and make a purchase, we may earn a commission at no extra cost to you. We only recommend gear we’ve researched or genuinely believe in.