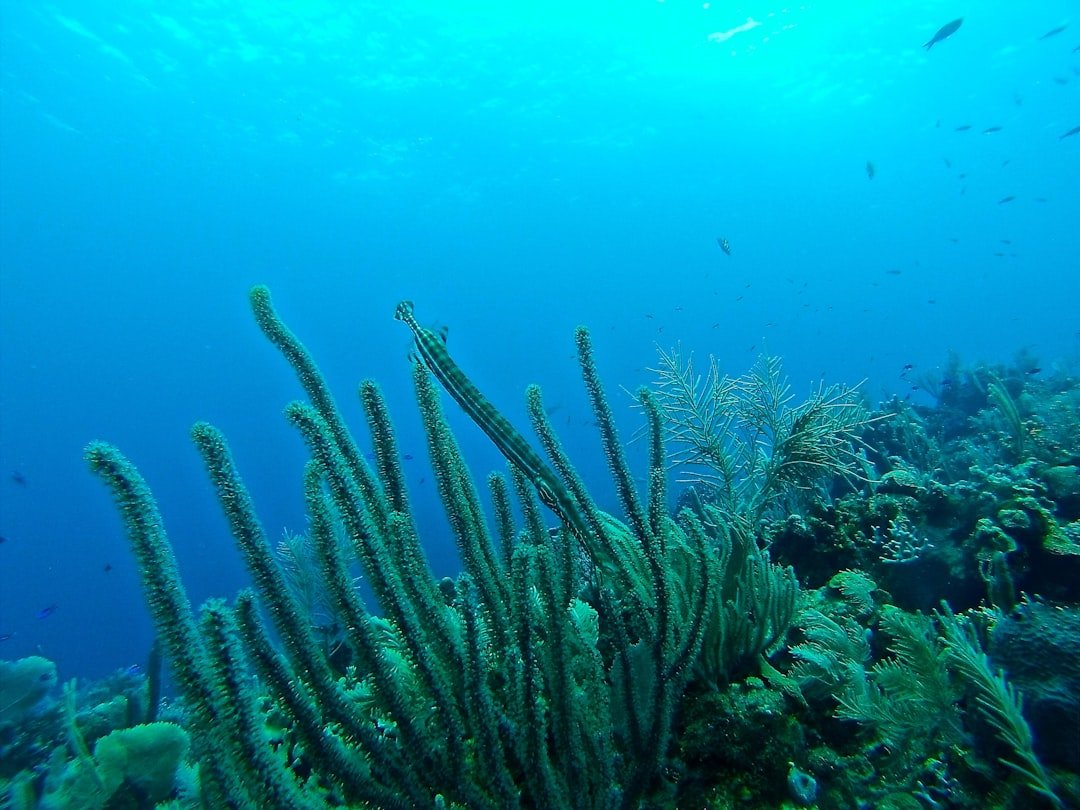
The best white balance settings underwater photography without a red filter are a custom white balance made at the subject depth, or RAW capture with a Kelvin setting as a starting point. For ambient-light stills, begin near 6,500K in shallow clear water, then raise it toward 8,000K to 10,000K as you go deeper or the scene turns bluer. RAW capture gives you far more room to correct temperature and tint later than JPEG, which permanently applies the camera’s white balance choice.
Best white balance settings underwater photography without a red filter
There is no single underwater white balance number that works everywhere. Water removes warm wavelengths quickly, but the result changes with depth, visibility, sun angle, cloud cover, and the distance between camera and subject. Distance matters. A reef fish two feet away may still carry useful red information, while the same fish photographed across six feet of water can look blue even at the same depth.
Custom white balance is the best first choice when you shoot ambient-light stills and your camera can set it underwater. Put a neutral white or gray slate near the subject, with the slate facing the camera, then make the custom reading under the same light that falls on your planned image. Keep the slate close to the subject, since a white balance made at the surface, on the boat, or beside your housing does not match the water column in front of the lens.
Many cameras will reject a custom reading once there is too little red light in the scene. That is normal. At that point, a custom setting can also create odd magenta shadows or noisy orange areas because the camera is trying to amplify color that the sensor barely recorded. RAW is the better option instead. It will not restore detail that was never captured, but it gives you a cleaner and more controllable starting file.
Use custom white balance when it works
Custom white balance is especially useful in shallow blue water, green water, and during video recording. Video files have less flexibility than RAW stills, so getting the balance close before pressing record saves a lot of work later. It is worth checking often. A change of only a few meters, a swim under an overhang, or a turn toward the sun can shift the scene enough to justify another reading.
Use a proper neutral slate rather than a brightly colored fin, a yellow sponge, or white sand. Sand can be warm, gray, or blue depending on the site and light direction. A small matte gray card is easier for both the camera and later editing. A clean card helps prevent scratches and algae from affecting a reading more than most divers expect.
Set Kelvin when custom balance fails
Kelvin white balance is a practical fallback because it gives you a repeatable baseline, even when a camera refuses a custom reading. Start around 5,500K to 6,500K in very shallow water with strong daylight. Try 7,000K to 8,500K around moderate recreational depths in clear blue water. Push toward 9,000K or 10,000K only when the preview remains strongly blue and your camera permits it.
These are starting points, not fixed depth rules. Green water often needs less temperature adjustment and more magenta tint correction, while very blue tropical water can need a higher Kelvin setting. Skinless neutral subjects are useful references. A gray slate, pale sand, or a white fin tip can tell you more than the overall blue background, which often should remain blue rather than neutral gray.
Do not chase a perfectly warm preview at every depth. If you force the entire frame orange, you can make coral, sand, and marine life look unnatural while adding visible noise in red and orange areas. Retaining some water color helps. Underwater images usually look more convincing when the foreground has believable color and the distant water stays blue or green.
Match the setting to your light source
Strobes and video lights change the white balance decision because they put broad-spectrum light back onto a close subject. With strobes, a daylight-style setting around 5,000K to 5,600K is often a sensible place to begin. This approach keeps the strobe-lit fish or coral natural, while the ambient background can stay cooler.
A custom ambient-light white balance can make a strobe-lit foreground look too warm or magenta. Review the histogram and image preview after your first few shots, especially if the subject is close and the background is open water. In mixed light, prioritize the subject. You can adjust the water separately later in a RAW editor with local masks if needed.
Get closer before changing color settings
White balance cannot fully fix the color loss caused by a long shooting distance. The simplest improvement is often moving closer while maintaining good buoyancy and leaving marine life undisturbed. Less water helps. A wide lens lets you fill more of the frame without crowding a subject, which reduces the blue haze and preserves contrast.
Without a red filter, this point becomes even more useful. A red filter can alter the incoming light for certain ambient-light video setups, but it also reduces exposure and is not a universal answer for still photography. RAW files and close camera-to-subject distances usually provide a more flexible route for photos. Your camera model and local water conditions still matter.
A practical setup sequence
Use this sequence on the first part of a dive, then repeat it whenever the environment changes. It takes little time. Do the checks while settled, neutrally buoyant, and clear of reef contact or other divers.
- Set stills to RAW, or RAW plus JPEG if you want quick sharing files.
- Choose Auto White Balance for an initial test frame, then inspect the subject rather than only the blue water.
- Make a custom white balance with a neutral slate at your intended subject distance if the camera accepts it.
- If it does not, set a Kelvin value near 7,000K to 8,000K and take another frame.
- Check for unnatural orange, magenta, or cyan on pale subjects, then adjust Kelvin in small steps.
- When using strobes, return near 5,000K to 5,600K and judge the strobe-lit foreground first.
For example, imagine a reef scene at about 12 meters in clear water without strobes. A 6,000K preview may look cold and blue, so try 8,000K, photograph a gray slate and nearby coral, then compare the result. One change is enough. If 9,500K turns the coral orange, go back toward 8,500K rather than trying to neutralize every bit of blue water.
Edit RAW files with restraint
In RAW editing, use a neutral part of the subject for the white balance eyedropper, then fine-tune temperature and tint separately. Slow adjustments help. Temperature corrects the blue-to-yellow balance, while tint corrects the green-to-magenta cast that is common in coastal or plankton-rich water.
Raise exposure before making extreme white balance changes if the image is simply dark, but watch the red channel and shadow noise. A severely underexposed distant subject has limited color data. No slider fixes that. Local adjustments can warm a close fish or coral while leaving the background water natural, which usually looks better than applying one aggressive global correction.
Frequently asked questions
Should I use Auto White Balance underwater?
Auto White Balance is fine for test shots, shallow snapshots, and situations where light changes rapidly. It is less consistent for a series of images because the camera may shift color between frames. RAW capture lets you match a whole sequence to one chosen white balance during editing.
What Kelvin setting is best at 20 meters?
A higher Kelvin setting, often near the upper limit of many cameras, may make the preview less blue at 20 meters. It is not guaranteed to create natural warm color. At that depth, ambient light may have very little red remaining, particularly when the subject is several feet away. Use strobes or video lights for close subjects if accurate warm color is the goal.
Why does my custom white balance look magenta?
The camera may be overcompensating for missing red wavelengths, or it may be correcting water with a strong green cast. Try a new reading on a clean neutral slate closer to the subject. If the result stays magenta, lower the Kelvin value or use RAW with a more moderate setting instead.
Do I need a red filter for underwater photos?
No. For still photography, RAW capture, a good exposure, close shooting distance, and careful editing are often more flexible than a red filter. Red filters can have a place in certain ambient-light video workflows, but they reduce available light and need to match the water type and depth. Test your own camera before relying on one.
Related posts
This article is for general informational purposes only and is not dive training or medical advice. Always train with a certified instructor and consult a doctor before diving if you have any health concerns. Gear specs, pricing, site conditions, and operator schedules change, so verify current details directly with the manufacturer or dive operator.
Disclosure: This post may contain affiliate links. If you click through and make a purchase, we may earn a commission at no extra cost to you. We only recommend gear we’ve researched or genuinely believe in.