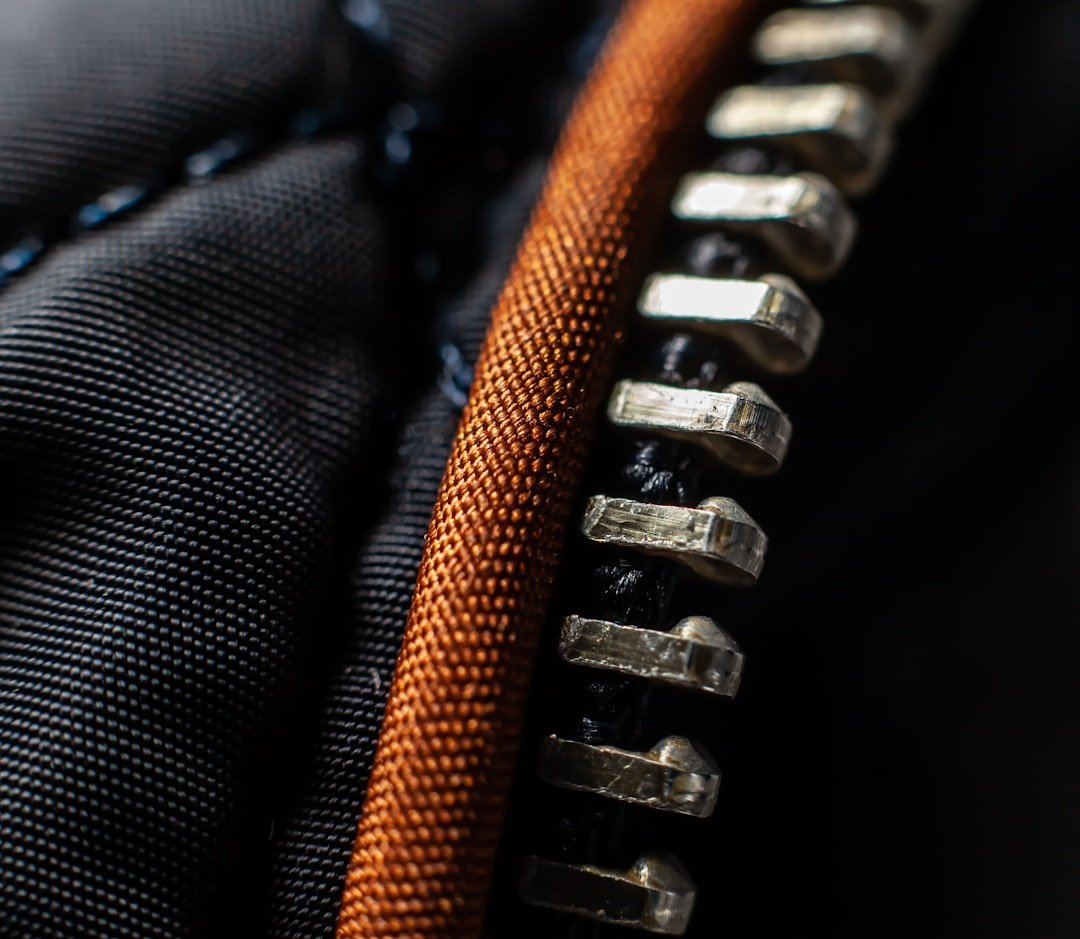
To fix a sticky BCD zipper, stop pulling hard and rinse the zipper with fresh water first. Force causes damage. If you are working out how to fix a sticky BCD zipper step by step at home, the usual culprit is dried salt, sand, silt, sunscreen residue, or a bent zipper tooth rather than a broken zipper itself.
Start with the BCD fully dry on the outside, uninflated, and laid flat on a clean towel or workbench. Take your time. A zipper that binds in one spot needs inspection before lubricant, because coating grit with wax or lubricant can turn it into a stubborn paste.
How to fix a sticky BCD zipper step by step
-
Identify what the zipper opens before doing anything else. Check the manual if needed. It may close a utility pocket, an integrated-weight pocket, a trim-weight pocket, a bladder cover, or a panel that gives access to internal components. This matters. Do not casually open a zipper that may expose the air cell, dump-valve hardware, or internal straps if you are unsure how it is assembled.
-
Remove anything stored in the pocket. Empty it completely. A loose bolt snap, wet slate pencil, sand-filled mesh pouch, or damaged pocket lining can press against the zipper teeth and make the pull feel far worse than the actual problem.
-
Rinse both sides of the closed zipper with a gentle stream of fresh water. Avoid pressure. A shower head, spray bottle, or slow-running tap works well, while a high-pressure hose can push grit deeper into the zipper tape or into the BCD itself.
-
Work the zipper pull a few millimetres at a time while it is wet. Move slowly. If it stops, reverse direction slightly rather than trying to muscle it through the tight spot, then rinse that exact section again.
-
Use a soft toothbrush or small nylon cleaning brush along the zipper teeth and the fabric tape on both sides. Brush gently. Pay close attention to the point where the slider jams, since tiny grains of sand often collect there after beach entries, shore exits, and gear rinses on a gritty dock.
-
Open the zipper only as far as it will move without force, then clean the newly exposed teeth. Do not pull against resistance. Repeat the rinse, brush, and short back-and-forth movement until the slider travels the full length.
-
Let the zipper dry fully after cleaning. Give it time. A clean zipper may feel smooth once dry, while a wet zipper can hide remaining grit or make you think a lubricant has solved a problem that will return after the next dive.
-
Apply a small amount of zipper-specific lubricant if the zipper is clean but still drags. Use little. Work it into the teeth by opening and closing the zipper several times, then wipe away residue so it does not collect sand on the next trip.
What to use and what to avoid
A purpose-made zipper lubricant is the safest home option for most BCD pocket and cover zippers. Keep it simple. Stick lubricants and zipper waxes are easy to control because you can apply them directly to the teeth instead of soaking surrounding fabric, foam, webbing, or plastic hardware.
Some divers use plain paraffin wax or a clean candle very sparingly on a conventional nylon-coil zipper, and it can work in a pinch. Test cautiously. Use only a light rub on clean, dry teeth, because excess wax attracts dust and can leave a white residue on dark BCD fabric.
Avoid WD-40, penetrating oils, grease, petroleum jelly, cooking oil, and aerosol silicone sprays. Skip them. They can migrate into fabric and seams, hold abrasive dirt, create a slippery mess around gear, and may not be compatible with every zipper tape, coating, plastic part, or BCD material.
Do not use metal pliers on the zipper slider unless you already know it is a metal slider and understand the risk. Pliers deform things fast. Most BCD zippers are nylon coil zippers with plastic sliders, and a small squeeze in the wrong place can crack the pull or permanently pinch the teeth.
Check the zipper before you lubricate it
Look along the zipper teeth under bright light, preferably with the pocket opened as far as possible. Find the fault. You are looking for packed debris, a tooth that sits out of line, frayed zipper tape, loose stitching, a split seam beside the zipper, or a slider that has visibly spread apart.
If the zipper catches at exactly the same point after thorough cleaning, inspect the surrounding fabric for a snag. This is common. A thread, pocket lining, mesh edge, or small flap of webbing may be feeding into the slider, and lubricant will not fix that mechanical obstruction.
Carefully pull loose thread away from the teeth with your fingers or small blunt tweezers. Do not cut near the tape. If a thread is genuinely free and not part of a seam, trim it only after moving it well clear of the zipper, using small scissors and good lighting.
A zipper can also feel sticky because the slider is worn, cracked, or spread. Watch closely. When the pull moves but the teeth immediately separate behind it, the slider may no longer be bringing the zipper halves together correctly. That needs a repair, not extra wax.
Special care for BCD bladder and weight-pocket zippers
Not every BCD zipper is just a pocket zipper. Read the manual. On some jacket-style BCDs, a large zipper opens the outer cover around the inflatable bladder, while other models use zippers around integrated weight systems or removable cargo sections.
If the zipper accesses the air cell, do not assume it is safe to remove, replace, or reroute parts at home. Stop there. The zipper itself may be simple, but the area behind it can include the bladder, corrugated-hose routing, dump-valve assemblies, bungee retention, or attachment points that need to be put back exactly as designed.
For an integrated-weight pocket zipper, remove all lead before inspecting and cleaning it. No shortcuts. Check that the pocket, retaining strap, release handle, and any locking mechanism still work normally after you finish, because a smooth zipper is useless if the weight system no longer secures or releases as intended.
Before diving the BCD again, inflate it fully and leave it inflated for a manufacturer-recommended inspection period if you disturbed a bladder cover or any nearby hardware. Follow the manual. If you see bubbles, hear a leak, find a misrouted hose, or cannot confirm correct reassembly, have a qualified BCD service technician inspect it before use.
When a home repair is no longer sensible
Cleaning is a good home job. Structural repair is different. Take the BCD to an authorized service center or a competent gear repair professional if the zipper teeth are missing, the slider is cracked, the zipper tape has torn, stitching is coming apart, or the zipper separates after closing.
Get professional help if a stuck zipper prevents access to a weight-release component, an inflator connection, a dump-valve area, or the BCD bladder. Do not dive it. A BCD is life-support equipment in the practical sense that it affects buoyancy control at the surface and underwater, so an uncertain repair is not a place to gamble on a vacation dive.
Replacement may be the better value on an older BCD with widespread fabric deterioration, corroded hardware, multiple failing zippers, or a bladder that will not hold air. Prices vary by region. Ask for an estimate before authorizing work, since zipper replacement can involve opening and resewing panels that are difficult to access cleanly.
Prevent the zipper sticking again
Rinse the entire BCD after every saltwater dive, with extra attention to zippers, buckles, weight-pocket channels, and the lower back area where sand tends to settle. Ten minutes helps. Open and close each noncritical pocket zipper gently during the rinse so fresh water reaches the teeth instead of only washing the outside.
Let the BCD dry in shade with pockets partly open, then close the zippers once the fabric is dry and clean. Avoid direct heat. Long exposure to hot car interiors, heaters, or intense sun can age zipper tape, coatings, elastic, and plastic parts faster than normal air drying.
Keep loose sand out of pockets whenever possible, especially after a shore dive. Use a mesh pouch. Put slates, spools, clips, and small tools in a separate organizer rather than dropping gritty items directly into a BCD pocket where they can rub against the zipper tape.
Once or twice through a busy dive season, inspect each zipper before packing for a trip. It takes minutes. Catching a stiff pull at home is much easier than dealing with a jammed pocket on a rocking boat while you are trying to organize weights and accessories.
FAQ
Can I use silicone spray on a BCD zipper?
I would avoid aerosol silicone spray on a BCD zipper. It spreads too easily. A controlled zipper lubricant or light zipper wax is easier to keep on the teeth, and it is less likely to coat nearby webbing, pocket fabric, buckles, or grip surfaces.
Why is my BCD zipper still stuck after rinsing?
It may have grit inside the slider, a snagged thread, damaged teeth, or a worn slider. Inspect the exact sticking point. If brushing and gentle movement do not change the problem, stop forcing it and arrange a professional inspection.
Can I replace a BCD zipper myself?
A simple removable accessory pouch may be repairable by a skilled sewing shop, but a zipper sewn into the BCD body, bladder cover, or weight system is more complicated. Be cautious. Those repairs can affect fit, access to critical components, and the durability of the surrounding material.
Should I lubricate every zipper after every dive?
No. Fresh-water rinsing does most of the work. Lubricate only when a clean, dry zipper begins to drag, because excess product can trap sand and dirt instead of preventing the problem.
Is a sticky zipper a reason to cancel a dive?
It depends on what the zipper controls. A sticky cosmetic pocket zipper may be an inconvenience, but any zipper that affects integrated weights, bladder access, or required gear retention deserves inspection before diving. When you are unsure, ask a certified instructor or qualified service technician rather than guessing.
Related posts
This article is for general informational purposes only and is not dive training or medical advice. Always train with a certified instructor and consult a doctor before diving if you have any health concerns. Gear specs, pricing, site conditions, and operator schedules change, so verify current details directly with the manufacturer or dive operator.
Disclosure: This post may contain affiliate links. If you click through and make a purchase, we may earn a commission at no extra cost to you. We only recommend gear we’ve researched or genuinely believe in.