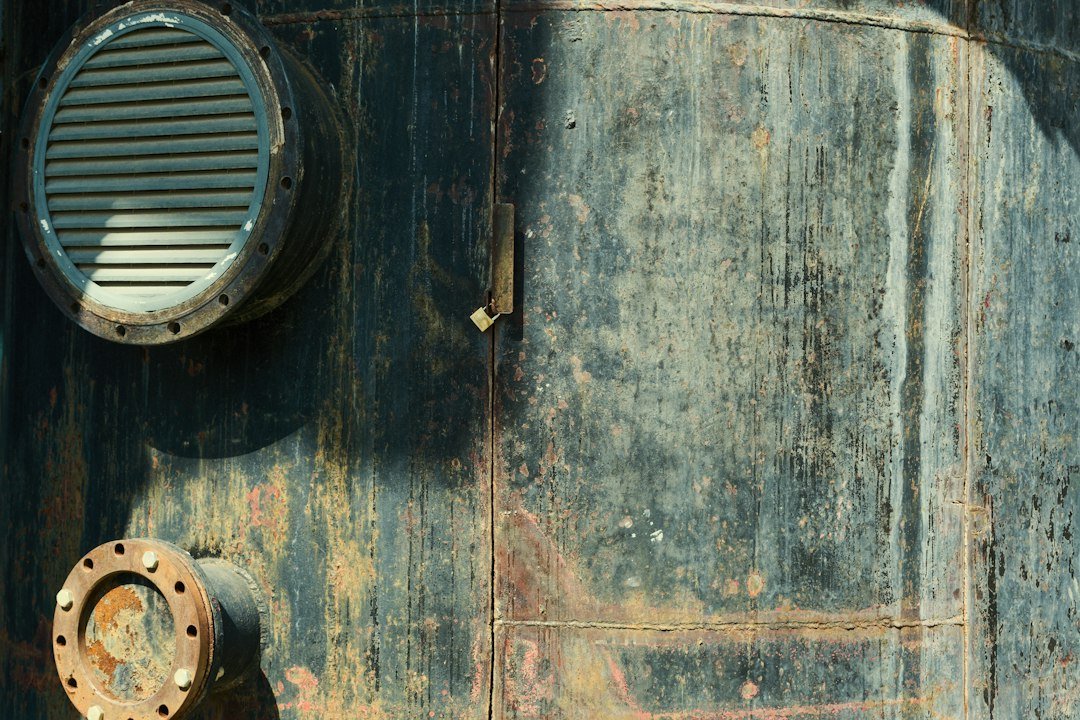
How to inspect a scuba tank for rust becomes relevant when a cylinder has sat wet in the garage, rolled around in a car boot, or come back from a saltwater trip with orange marks near the base. Do it dry. The safe approach is to check the outside yourself, review its service status, and have a qualified cylinder inspector assess anything inside the neck or any corrosion that looks deep, widespread, or structural.
A scuba tank holds gas under high pressure. Treat it seriously. Do not try to remove a valve, scrape inside the cylinder, drill a suspected weak spot, or fill a tank that has questionable corrosion, major dents, heat damage, or an overdue test status. A dive shop or certified cylinder inspection technician has the tools and procedures to make the call safely.
How to inspect a scuba tank for rust
Start with the cylinder empty enough to handle safely, clean, dry, and standing where it cannot fall over. Good light matters. Wipe away sand, salt crystals, neoprene residue, and loose grime with fresh water and a soft cloth, then let the metal dry fully before deciding whether a brown patch is surface dirt, transferred rust, or corrosion in the tank itself.
Look at the whole cylinder first. Go slowly. Rotate it in bright indirect light and inspect the shoulder, neck area, sidewall, base, boot, and every place where paint or protective coating has worn through. Surface rust often starts where moisture stays trapped, especially under a removable boot, beneath tank bands, around stickers, and in scratches caused by transport.
Small orange staining on an unpainted steel cylinder can be superficial, particularly if it wipes away and leaves smooth solid metal underneath. That still needs attention. Clean the area gently, dry it, and monitor it, because repeated moisture exposure can turn a light surface mark into pitting that removes metal and requires professional evaluation.
Deep rust looks different. Stop there. Be cautious if you see flaking scale, rough pits, bubbles under paint, sharp-edged craters, a raised blister, rust spreading from a seam or neck area, or corrosion hidden beneath a boot. Do not assume a fresh coat of paint fixes the problem, because paint can cover the evidence without restoring lost metal.
Use this visual inspection checklist
- Read the cylinder markings. Check the stamped identification, working-pressure marking, and test-date markings where applicable. Dates and requirements vary by country. A current hydrostatic-test stamp and a current visual-inspection record are separate things, and a shop may decline to fill a cylinder that does not meet local rules or its own safety policy.
- Inspect the neck and valve area. Look for corrosion around the valve threads, neck threads, handwheel, burst-disc area, and valve outlet. Keep dirt out. Green, white, or crusty deposits around brass parts can indicate corrosion or salt residue, while rusty steel around the neck deserves prompt professional attention.
- Check the exterior finish. Look for chipped paint, bare steel, bubbling coating, scratches, dents, gouges, and areas rubbed by tank straps or racks. A paint chip alone is usually a maintenance job, but corrosion beneath the chip changes the decision.
- Remove the boot if practical. Do this only if it slides off without force and you can reinstall it correctly. Boots trap water. Inspect the entire base, rinse away grit, dry the cylinder and boot separately, and do not put a wet boot back on a tank.
- Look for impact damage. Dents, creases, sharp gouges, or a distorted base are not cosmetic until a qualified inspector says so. Set the tank aside. Dropping a cylinder onto concrete, pinching it in a vehicle door, or letting it roll unsecured can damage metal even if the paint looks mostly intact.
- Inspect accessories. Check the valve O-ring, cap, tank boot, mesh cover, carry handle, and cylinder band contact points. Replace a nicked or flattened valve O-ring with the correct type for that valve and gas service, but leave valve servicing to someone trained for it.
- Review storage clues. A stale, damp smell near the outlet, water marks around the boot, or salt residue under a tank net suggests poor drying or storage conditions. These clues do not prove internal rust. They do justify a closer professional check.
Know the difference between steel rust and aluminum corrosion
Steel scuba cylinders rust because iron reacts with oxygen and moisture. Orange-brown staining is the familiar warning. Aluminum cylinders do not form iron rust, but they can corrode, pit, develop chalky white oxidation, or show thread and neck concerns that still require an experienced inspector.
Do not dismiss aluminum damage. White powder or dull gray spots may be oxidation, while deeper pitting, swelling, cracking, distorted threads, or corrosion around the neck need a shop assessment before the cylinder is filled. Cylinder material, age, finish, gas use, and local inspection rules all affect what the technician checks.
A tank boot can hide trouble on either material. Take it off periodically. After freshwater or saltwater diving, rinse the exterior with fresh water, remove trapped sand, and dry the cylinder before storage. Do not store a cylinder standing in a puddle, against a damp concrete wall, or sealed inside a wet gear bag.
Check inside only through proper service
Internal corrosion matters more than a light external stain because it can affect the cylinder wall where you cannot judge depth with your eyes. Never remove the valve yourself. The cylinder must be fully depressurized, handled with the correct equipment, and inspected by a competent professional who can examine the interior, threads, valve condition, and contamination safely.
A qualified visual inspector may use a light and inspection mirror or camera after the valve is removed under controlled procedures. Internal rust can look like loose orange flakes, dark staining, scale, or pitting. Loose debris can also contaminate a regulator and restrict gas flow, so a tank that sheds visible flakes needs professional attention before it returns to service.
Do not rely on shaking the tank. It proves little. A cylinder can sound clean and still have corrosion in the shoulder or around the neck threads, while a small bit of harmless debris can make noise in an otherwise acceptable cylinder. Let the inspection process determine the condition.
When to stop and take the tank to a shop
Set the cylinder aside and do not fill it if you find deep pits, flaking rust, a dent with a sharp crease, exposed thread damage, a bulge, heat discoloration, a damaged valve, an unknown test history, or a boot hiding heavy corrosion. No exceptions. Mark it clearly so another diver does not mistake it for a ready-to-fill tank.
If the tank has been fully emptied after a dive, flooded through an open valve, exposed to fire or severe heat, or stored for a long period with moisture inside, arrange a professional inspection before use. Water inside a steel tank can start corrosion quickly. Saltwater contamination deserves particular caution because salt remains active after surface water evaporates.
Do not confuse a fill station inspection with a full visual inspection. Shop staff may spot obvious problems at the counter, but their decision to fill is not a guarantee that hidden areas are sound. Keep your own record of test dates, visual service, unusual events, and any corrosion you have had assessed.
Prevent rust between dives
Most rust prevention is simple. Keep the valve closed. Transport cylinders secured upright or lying where they cannot roll, rinse the exterior after saltwater use, dry under the boot, and store the tank in a cool dry place away from fertilizers, pool chemicals, fuel fumes, and direct weather.
Leave a small positive pressure in a cylinder during storage if that matches the manufacturer, local service practice, and your dive shop’s guidance. Ask locally. The goal is to reduce the chance of humid air or water entering through an open valve, not to create a home pressure-management routine.
Before each trip, spend two minutes on the checklist: read the dates, inspect the neck and base, remove moisture under the boot, check for dents and corrosion, and confirm the valve outlet has a clean intact O-ring. Small checks add up. They also make it easier to spot a new mark before the next fill.
If a mark worries you, do not talk yourself out of it because the dive is planned or the boat is leaving. Sit that cylinder out. A rental cylinder or a different tank is cheaper than guessing about pressure equipment, and a certified instructor or reputable dive operator can help explain local testing and inspection expectations.
Related posts
This article is for general informational purposes only and is not dive training or medical advice. Always train with a certified instructor and consult a doctor before diving if you have any health concerns. Gear specs, pricing, site conditions, and operator schedules change, so verify current details directly with the manufacturer or dive operator.
Disclosure: This post may contain affiliate links. If you click through and make a purchase, we may earn a commission at no extra cost to you. We only recommend gear we’ve researched or genuinely believe in.