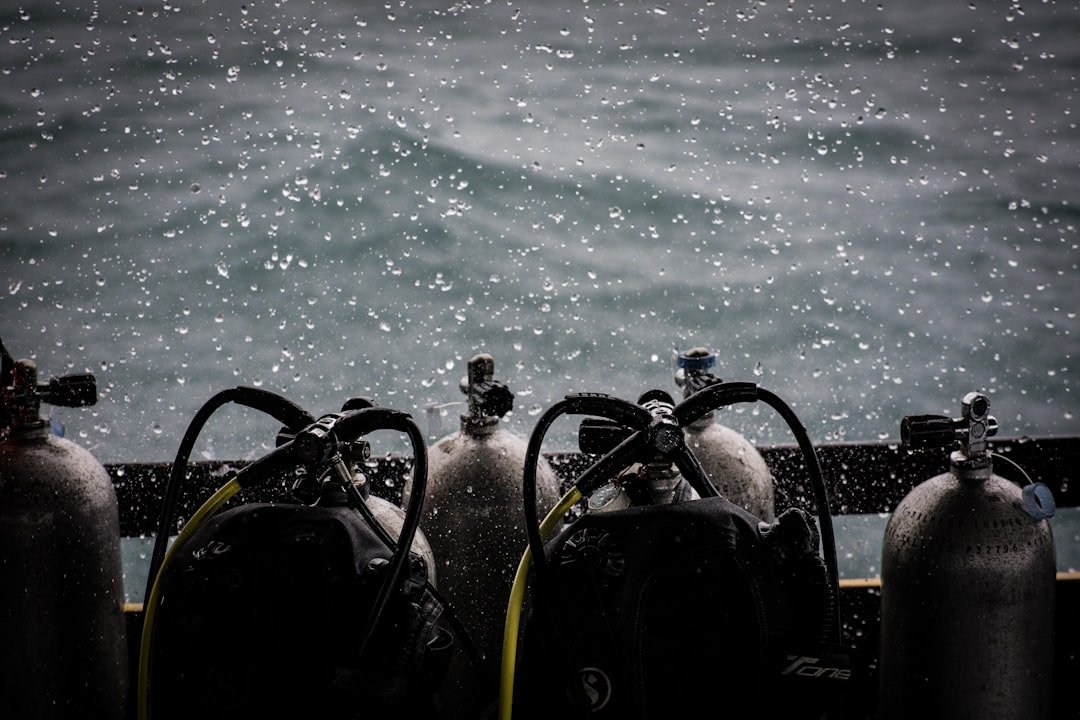
At the rinse tank after a beach dive, how to remove salt from scuba gear is simple: keep the regulator dry inside, soak salt-exposed equipment in fresh water, work moving parts gently, then dry it before storage. Do it promptly. How to remove salt from scuba gear after every dive is mostly about giving fresh water enough time to dissolve crystals that would otherwise dry inside buckles, zippers, valves, and fabric seams.
How to remove salt from scuba gear after every dive
Salt water does not need to look crusty to cause trouble. It dries invisibly at first. Once the water evaporates, salt crystals can leave BCD inflator buttons sticky, make wetsuit zippers rough, and create a gritty feel in mask straps and fin buckles. A quick splash is rarely enough, especially after several dives or a hot boat ride home.
Use clean fresh water whenever possible. Start with the gear that has the most delicate parts, particularly your regulator, computer, camera housing, and torch. If a dive operator has a shared rinse tank, avoid dropping a sandy regulator or mask into water that is already cloudy with grit, sunscreen, and neoprene residue. A separate bucket or gentle hose rinse is cleaner.
Fresh water dissolves salt. Time matters too. For most recreational gear, a 10 to 20 minute soak followed by a careful rinse works well, provided the manufacturer does not give a different instruction. Do not leave equipment submerged for hours without checking its care guidance, particularly electronics, lights, and sealed camera housings.
Start with the regulator
Fit the regulator dust cap firmly before any water touches the first stage. Make sure the cap and the area around the high-pressure inlet are dry first. Water entering this opening can reach internal components, and that is a servicing issue rather than normal rinse water.
With the dust cap secure, rinse the outside of the first stage, hoses, second stage, alternate air source, and pressure gauge with low-pressure fresh water. Keep it gentle. Do not press the purge button while the second stage is off the cylinder, and do not soak the second stage with its mouthpiece facing upward where water might work inward. A slow flow over the exterior is usually enough.
Work hose protectors and swivel areas lightly with your fingers under the rinse water. Salt often hides there. If the second-stage button or exhaust tee feels sticky after rinsing, do not force it or spray lubricant into it. Let it dry, then have a qualified regulator technician inspect it if the problem remains.
Flush the BCD properly
Rinse the outside of the BCD, including shoulder dump valves, oral inflator, corrugated hose, pockets, tank bands, and every buckle. Open the pockets. Sand and salt collect in folds that a quick deck shower misses.
Put a little fresh water into the BCD bladder through the oral inflator, inflate it partway, and gently roll the BCD so water reaches different internal surfaces. Then drain it through the oral inflator and, if your model allows it, each dump valve. Repeat once if the water drains salty or if the gear has sat un-rinsed for a day.
Do not store the bladder wet. Hang the BCD partly inflated in a shaded, ventilated place until the exterior and interior have dried. Leaving it fully inflated is unnecessary, but a little air keeps the bladder walls from sticking tightly together while moisture escapes.
Soak exposure gear and accessories
Wetsuits, rash guards, hoods, gloves, boots, masks, snorkels, fins, and SMBs tolerate a proper fresh-water soak well. They are simpler. Turn neoprene items inside out after rinsing so the side against your skin can dry, and unzip boots or suits fully to expose the teeth and zipper tape.
Rinse suit zippers with fresh water while they are open, then close them gently once the suit is dry. Do not use household oils or random spray lubricants on a zipper. Use a product intended for the zipper material if the manufacturer recommends one, because some lubricants can collect dirt or affect rubber and plastic parts.
For a mask, rinse the skirt, strap, buckles, and nose pocket, then let it air dry away from strong sun. Heat is hard on silicone. For fins, flex the straps and buckle releases under water to clear salt from their moving points, then stand them where they will not bend or warp.
| Gear | Best fresh-water method | Key caution |
|---|---|---|
| Regulator | Gentle external rinse with dry dust cap fitted | Never allow water into the first-stage inlet |
| BCD | Rinse outside and flush bladder | Drain internal water before storage |
| Wetsuit and boots | Soak, rinse zippers, dry inside out | Keep out of direct sun |
| Computer and torch | Rinse exterior and follow product manual | Check seals and battery compartment guidance |
A practical rinse routine after every dive
-
Secure the regulator dust cap while it is dry. Then rinse the regulator exterior first. This protects the most sensitive item.
-
Flush the BCD bladder with fresh water, drain it, and rinse its valves and buckles. Move each control gently. Do not force a sticky valve.
-
Soak neoprene, mask, snorkel, fins, and accessories for about 10 to 20 minutes. Agitate them once or twice. This dislodges salt trapped in seams.
-
Rinse dive computers, compasses, lights, and camera housings according to their manuals. Pay attention to buttons. Salt can bind around button edges and O-ring grooves.
-
Dry everything in shade with good airflow before packing it away. Open pockets and unroll SMBs. A sealed gear bag holds moisture against the equipment.
If you cannot rinse immediately, keep the gear damp and out of sun until you reach fresh water. That is better than allowing salt water to bake dry on it. Never seal wet gear in a hot car for longer than necessary, since odor, mildew, and material damage can follow.
FAQ
Can I use a communal dive-shop rinse tank?
Yes, if it is reasonably clean and the operator permits it. Rinse tanks are convenient. For regulators, cameras, and masks, a gentle hose rinse or personal bucket is often preferable because shared water can contain sand, sunscreen, and residue from other equipment.
Do I need soap to remove salt?
Usually, no. Fresh water removes salt effectively. Use a cleaner only when you need to remove odor, sunscreen, biological residue, or grime, and choose one made for dive gear or approved by the item manufacturer.
How long should I soak scuba gear?
Ten to 20 minutes is a useful starting point for neoprene and accessories after normal salt-water diving. Shorter is fine for a quick post-dive rinse. Check the manual for computers, lights, and camera equipment because sealing systems and battery compartments have product-specific care rules.
Can I dry gear in direct sunlight?
A brief period is unlikely to ruin gear, but shade is the better routine. UV exposure and heat can age neoprene, plastics, rubber, and adhesives over time. Good airflow dries equipment without cooking it.
What if salt has already dried on my gear?
Soak the affected item in fresh water and allow time for the crystals to dissolve before moving buckles, zippers, or buttons. Be patient. If a regulator control, BCD valve, or electronic button stays stiff after cleaning and drying, stop using that function until a qualified technician can assess it.
Related posts
This article is for general informational purposes only and is not dive training or medical advice. Always train with a certified instructor and consult a doctor before diving if you have any health concerns. Gear specs, pricing, site conditions, and operator schedules change, so verify current details directly with the manufacturer or dive operator.
Disclosure: This post may contain affiliate links. If you click through and make a purchase, we may earn a commission at no extra cost to you. We only recommend gear we’ve researched or genuinely believe in.