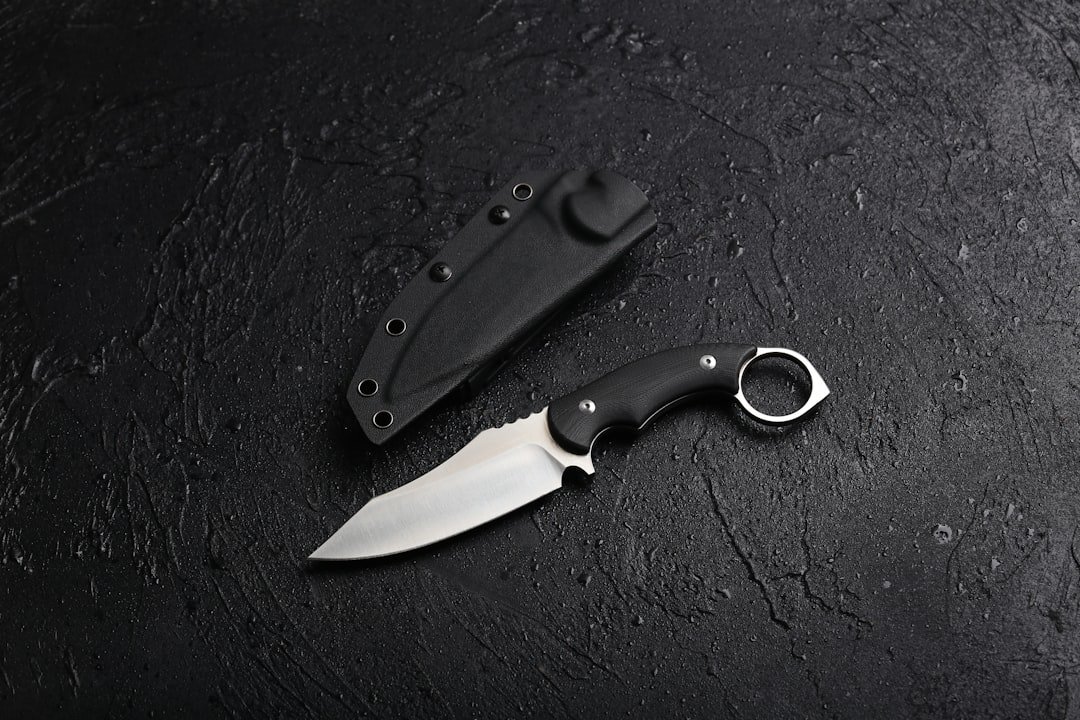
Your buddy is caught on a loose fishing line near the exit ladder, and your bulky knife is buried under a BC pocket flap. That is the everyday scenario that defines the best dive knife for beginners. A good beginner knife is small, easy to reach, hard to lose, and capable of cutting line or webbing without creating a new injury risk. Keep it simple.
For most new recreational divers, a compact blunt-tip knife or line cutter is the sensible purchase. It cuts common entanglement hazards, packs easily, and reduces the chance of puncturing yourself, your exposure suit, or a lift bag. Bigger is rarely better. Choose a secure sheath first, then a blade that suits the water you actually dive.
Best dive knife for beginners buying priorities
Think of a dive knife as emergency cutting equipment, not a general underwater tool or a weapon. The blade may be useful for monofilament, abandoned line, kelp, or a snagged strap, but it does not replace buoyancy control, dive planning, or training. Training comes first. Ask a certified instructor where a cutting tool is best carried for the diving you plan to do.
The first requirement is access. You need to reach the handle while wearing the exposure suit, BC, gloves, and any accessories you normally use. A knife clipped to a lower hose or mounted on the waist strap is often easier to access than one strapped to the ankle, especially in thick wetsuits or a drysuit. Test this on land. Reach it with both hands before entering the water.
Retention is equally important. A sheath should hold the knife through a giant stride, current, and accidental contact with a ladder or boat bench, while still releasing without a complicated sequence. Look for a positive mechanical lock, a firm friction fit, or a secure retaining strap that you can operate in gloves. One-handed release matters. If the release feels sticky in a shop, salt and sand will not improve it.
Blade length should match the job. Around 2.5 to 4 inches is enough for many recreational divers because line, cord, webbing, and light netting do not require a long blade. A compact tool is less awkward on a BC and less likely to snag hoses. Long blades have uses. They are usually less convenient for a first knife.
A partially serrated edge is practical because serrations bite into slippery braided line and webbing. A straight section can make controlled cuts and is easier to sharpen, though sharpening is not a priority if you use a replaceable-blade cutter. Carrying two cutting edges is sensible for some environments. It is not mandatory for ordinary guided reef dives.
Blunt tip vs pointed tip
The blunt tip vs pointed tip decision is the main safety trade-off. A blunt-tip blade has a rounded or squared nose that can pry lightly, guide material onto the edge, and reduce accidental punctures. It is the usual beginner choice. You can still cut yourself on its sharp edge, so treat it with the same care as any knife.
A pointed-tip knife has a narrow tip intended to pierce material or start a cut. It may appeal to divers who expect heavy rope, thick material, or specific work-oriented tasks, but a beginner is more likely to encounter its downsides first. The point can damage a buoyancy bladder, drysuit, hose, or teammate if handled carelessly. That risk is real.
| Option | Best fit | Main advantage | Main trade-off |
|---|---|---|---|
| Blunt-tip knife | Most new recreational divers | Lower puncture risk and useful cutting edge | Less effective for piercing tough material |
| Pointed-tip knife | Divers with a specific trained use | Can start cuts or pierce certain material | Higher risk around gear and people |
| Line cutter | Travel, warm water, simple kit setups | Very compact and protected blade | Limited prying and general utility |
A line cutter is often the overlooked alternative. These compact tools protect the blade inside a hook-shaped opening, where line or webbing passes across the cutting edge. They are excellent for monofilament and cord. They are less useful for prying or cutting bulky material, and some designs clog more easily with sand or thick glove fabric.
If you are undecided, buy the blunt tip. A compact blunt-tip knife with a serrated section gives most beginners a safer margin while still covering common entanglement concerns. A pointed model should answer a clear need. “It looks more serious” is not a good need.
Steel and corrosion trade-offs
Steel choice affects maintenance more than marketing suggests. Stainless steel dive knives are common, but no steel stays corrosion-free after repeated saltwater dives without rinsing and drying. Salt wins eventually. The practical question is how much upkeep you will actually do after a tired boat day.
Common stainless options include 420-series steel and higher-grade stainless formulations used by different manufacturers. Softer stainless can be easier to sharpen but may lose an edge sooner. Harder stainless may hold an edge longer but can need more care. Brand labels alone do not settle this, so check the manufacturer’s current steel specification before buying.
Titanium is light and highly resistant to seawater corrosion, which makes it attractive for travel divers and people who dive saltwater often. The trade-off is edge behavior and cost. Many titanium knives are better regarded as corrosion-resistant cutting tools than as blades you expect to sharpen like steel. Prices vary by region.
After every saltwater dive, rinse the knife and sheath in fresh water, operate the lock several times, then dry both pieces before storage. Do not leave it closed wet in the sheath. A tiny amount of suitable lubricant on a metal lock or hinge can help, but follow the manufacturer’s instructions because some plastics and retention systems need no lubricant.
Sheath placement and deployment
Where you carry the knife matters as much as which knife you buy. The traditional inside-ankle mount still works for some divers, particularly when their BC layout leaves no clear waist position. It can be slow. It also adds another item to manage when walking on a boat or shore entry.
A BC waist strap, harness webbing, or lower-hose mount puts a compact knife closer to your hands. This can make sense for divers in bulky suits, divers who use long fins, or anyone who wants to avoid an ankle strap. Check your operator’s preferences. Some boats have rules about exposed blades or specific attachment points.
Run a dry practice before every trip. Put on your usual kit, close your eyes, locate the handle, release it, simulate a controlled cut away from your body, return it to the sheath, and confirm the lock engages. Then repeat with the other hand. Make it boring. Boring drills are useful underwater.
Never practice cutting while negatively buoyant in open water or while holding tensioned line near your body. A cutting tool can release a snag suddenly, and the line or equipment may move toward you. Maintain buoyancy and awareness first. A certified instructor can teach practical entanglement response for your training level and local conditions.
Research-based product types to compare
There is no single model that suits every diver, but several established product categories are easy to research. Compact blunt-tip stainless knives such as versions sold by Cressi, Mares, Aqua Lung, and TUSA are commonly listed for recreational use. Current blade steel, sheath design, and included straps can differ between versions. Verify the exact listing.
Aqua Lung Squeeze Lock knives are often researched for their distinct handle-release concept, which may appeal if you want a deliberate retention system. Cressi compact knives are commonly compared for conventional sheath options and accessible pricing. Mares and TUSA also sell compact knife designs in several sizes. Do not buy by logo alone. Handle each option in gloves if a local retailer permits it.
For a minimal setup, research dedicated line cutters from established dive-equipment makers. Look closely at blade replacement availability, how the tool mounts, and whether the cutting slot accepts the line diameter you might encounter. A cutter that is excellent on thin monofilament may be awkward on thick webbing. Match the tool to likely hazards.
A realistic beginner budget is usually modest compared with a regulator or computer, but the least expensive knife can cost more later if its sheath fails or the metal corrodes after a few trips. Put money into retention and placement. Decorative blade finishes matter less. Avoid oversized “survival” knives marketed for diving unless you have a specific, trained reason to carry one.
A quick purchase check
Use this five-minute check before ordering. First, decide whether your normal diving calls for a blunt-tip knife or a protected line cutter. Second, choose a mounting location that remains accessible with your exposure suit. Third, confirm the sheath locks positively and can be released in gloves. Fourth, read the manufacturer’s current blade material and maintenance guidance. Finally, check local laws, marine-park rules, airline restrictions, and operator policies before travel.
As a worked example, a diver doing warm-water guided reef trips with a jacket-style BC may choose a 3-inch blunt-tip stainless knife on a waist strap. That setup keeps the tool compact and reachable. A diver who travels with carry-on luggage and mainly worries about fishing line may prefer a small line cutter packed in checked baggage, subject to airline rules. Knives do not belong in cabin baggage.
Inspect the knife before each dive day. Check for rust, a loose handle, cracked sheath plastic, worn straps, and a lock that does not fully engage. Replace damaged retention parts rather than trusting a knife that can fall out unnoticed. Small maintenance prevents annoyance. It can also prevent a lost blade on a reef.
The best dive knife for beginners is usually the one you can find immediately, deploy safely, maintain easily, and carry without it becoming a snag hazard. Start compact. Choose a blunt tip unless your training and planned diving give you a concrete reason for a point, and practice with the tool under qualified supervision before you need it.
Related posts
This article is for general informational purposes only and is not dive training or medical advice. Always train with a certified instructor and consult a doctor before diving if you have any health concerns. Gear specs, pricing, site conditions, and operator schedules change, so verify current details directly with the manufacturer or dive operator.
Disclosure: This post may contain affiliate links. If you click through and make a purchase, we may earn a commission at no extra cost to you. We only recommend gear we’ve researched or genuinely believe in.