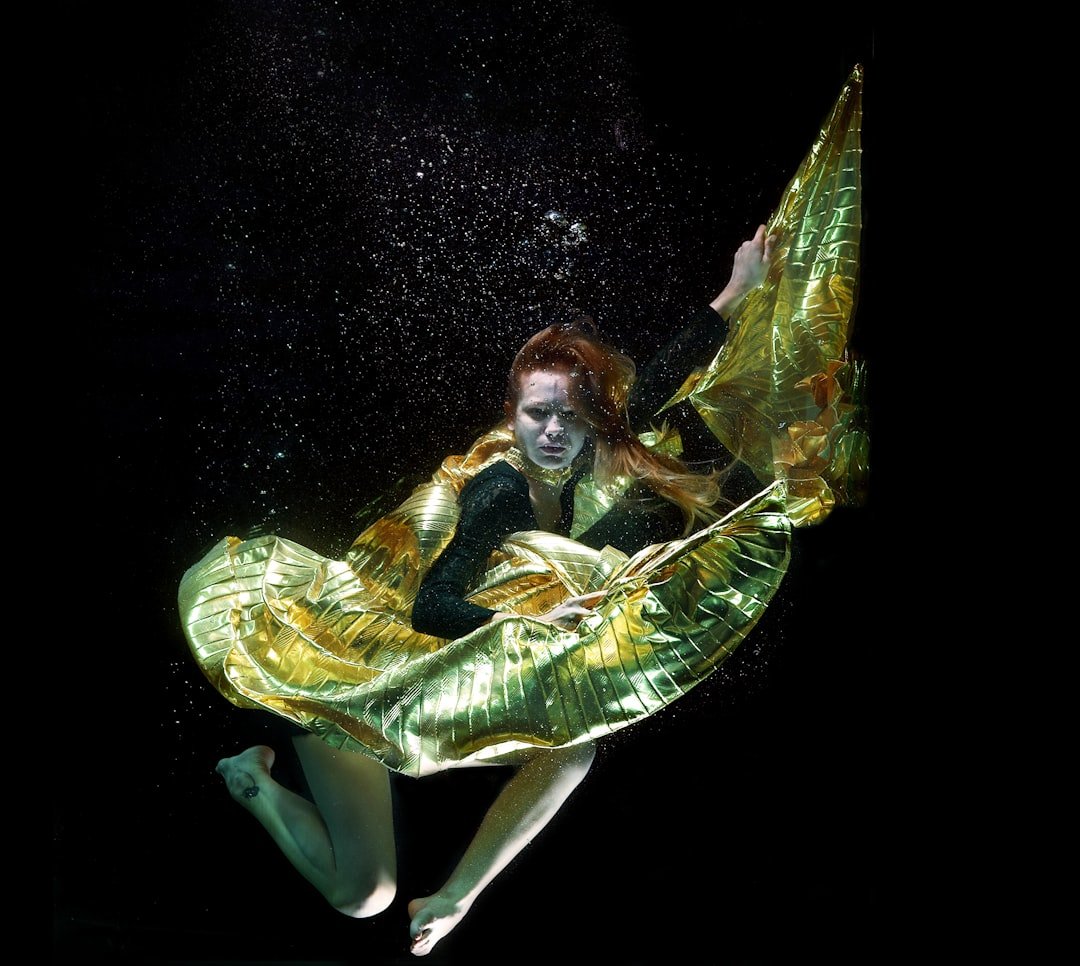
Start with one strobe placed wide of the lens and aimed just past your subject. That one adjustment will prevent a lot of backscatter. Learning how to use strobes for underwater photography comes down to controlling where light falls, how much light reaches the subject, and how little of it lights suspended particles between the port and the animal. Keep it simple first. For how to use strobes for underwater photography, begin close to a cooperative subject in clear water rather than trying to light a reef scene on your first attempt.
How to use strobes for underwater photography
A strobe restores colors that water absorbs and lets you use a smaller aperture for more depth of field. Ambient light still matters. Your camera exposure usually has two linked but separate parts: shutter speed, aperture, and ISO control the background exposure, while aperture, ISO, strobe power, and strobe-to-subject distance control how bright the flash-lit subject appears. This is the useful mental model. Once you understand it, changing one variable at a time becomes far less frustrating.
Set your camera to manual exposure if it supports it. Start around ISO 100 to 400, a shutter speed within your camera’s flash-sync limit, and an aperture around f/8 to f/11 for a close wide-angle subject; for macro, many divers start nearer f/11 to f/16 when their camera and lens allow it. Check your manual. The exact numbers depend on the camera, housing, lens, available light, and the image style you want, but a repeatable starting point makes review-screen adjustments much faster.
Put the strobes wide, high, and forward
Backscatter is usually caused by flash light hitting particles in front of the lens. Aim outward. Position each strobe well outside the port’s edges, slightly above the lens line, and far enough forward that the strobe head is roughly level with or a little ahead of the port. Then angle the strobe inward so the edge of its beam lights the subject, rather than pointing both heads directly at the center of the frame.
This is often called feathering the light. It works. The center of a strobe beam is usually its brightest area, so using the beam edge reduces harsh hotspots and leaves less light traveling straight through the water column in front of your lens. For a close fish portrait, start with both strobes about 45 degrees out from the housing handles and point them slightly outward, then bring them in only if the subject’s face is too dark.
Strobe distance matters as much as power. Close is easier. If your strobe is twice as far from the subject, the light reaching it drops sharply, so moving the strobe closer can give a softer, cleaner result than simply increasing power. Keep the strobe arms compact around coral, wreck structure, or other divers. Good buoyancy and trim come first. No image is worth contact with the bottom or an unstable ascent, and a certified instructor can help if your camera task loading affects your basic dive control.
Single vs dual strobe setup
A single strobe setup is the easiest way to learn flash exposure and works very well for macro, fish portraits, nudibranchs, and subjects framed to one side. It is lighter too. Put the strobe above and to the side of the lens, usually around 10 or 2 o’clock, then angle it across the subject rather than firing straight on. Side lighting gives texture to scales, coral, and small critters, while a more forward position gives flatter but safer coverage.
A single unit has limits with wider compositions. Large subjects and reef scenes may show a bright side and a dark side, especially when the strobe is close enough to avoid backscatter. You can use that shadow creatively. For a turtle or reef fish against blue water, one strobe can light the near eye and front edge while ambient exposure carries the rest of the frame.
A dual strobe setup gives more even coverage across a wide-angle frame and lets you light larger animals, split-level subjects, and foreground reef without pushing one strobe at maximum output. Start symmetrical. Place both strobes wide and high, at similar power, then aim each one slightly outward so their beam edges overlap at the subject. If the center looks bright and the corners look dark, move the strobes wider or angle them outward more. If the sides look dark, bring them a little inward.
Dual strobes also allow deliberate uneven lighting. One strobe can act as the main light, while the other fills shadows at one or two power steps lower. Keep the difference modest first. A strong key-to-fill difference can look dramatic, but it also makes poor aim or a missed exposure more obvious on a fast-moving subject.
Use this first-dive setup sequence
- Choose one subject distance. Begin about an arm’s length from a stationary coral head, sponge, or cooperative fish. Stay off the reef.
- Set a dark-ish background. Take a no-flash test shot and adjust shutter speed, aperture, or ISO until the blue water is slightly darker than you want in the final image.
- Set low strobe power. Start around one-quarter power if your strobe has manual levels. Low power recycles faster and reduces blown highlights.
- Take one frame. Look for a bright subject, dark particles, hard shadows, or a hotspot on pale skin or sand.
- Change one thing only. Reduce strobe power or move it back for an overexposed subject; move it closer or increase power for an underexposed subject. Re-aim outward if you see backscatter.
Use your histogram when available. The review image can look brighter or darker underwater than it will later on a computer or phone, while a histogram gives a more reliable warning that bright areas are clipping. Avoid pure white patches. Small specular highlights on shiny fish may be unavoidable, but broad clipped areas on a pale anemone, sand patch, or animal body usually need less flash power or a different strobe angle.
Match the light to the subject
For macro, bring strobes closer to the port and use shorter arms or tuck the arms back. Tiny subjects need controlled light. A snoot, which restricts the flash beam to a small circle, can isolate a nudibranch or shrimp against a dark background, but it demands careful alignment and works best after you are comfortable with normal strobe placement.
For wide angle, get physically close to the foreground. Closer is cleaner. Wide lenses let you include lots of water, but water reduces contrast and adds particles, so the usual goal is to place a colorful foreground within a few feet of the port and expose the blue background with ambient light. Pointing strobes toward distant reef rarely works well because most of the light never reaches it.
For fish portraits, focus on the eye and wait for the animal to turn slightly toward you. A little patience helps. Keep the strobes wide enough to avoid lighting the water, but do not spread them so far that one side of the face is unlit. If a fish has reflective silver scales, lower power and use a more oblique angle to reduce glare.
Common mistakes that waste a dive
The most common mistake is setting both strobes beside the port and pointing them straight ahead. Backscatter follows. Another is chasing exposure with strobe power alone when the background is too bright or too dark; adjust ambient exposure separately, then use the strobes for the foreground. Finally, do not leave arms loose enough to swing into the frame or bang against the housing when current picks up.
Before entering, check batteries, O-rings, fiber-optic cables or electrical bulkhead connections, and each strobe’s test-fire function. Do it on land. Once underwater, take a few shots early in the dive, confirm both strobes fire, and then focus on buoyancy, depth, gas, buddy awareness, and the conditions around you. Camera settings can wait if the dive is busy.
One strobe used well beats two poorly aimed strobes. Start there. When you can consistently light a close subject without backscatter, add the second strobe for wider coverage and finer control rather than because dual arms look more advanced.
Related posts
This article is for general informational purposes only and is not dive training or medical advice. Always train with a certified instructor and consult a doctor before diving if you have any health concerns. Gear specs, pricing, site conditions, and operator schedules change, so verify current details directly with the manufacturer or dive operator.
Disclosure: This post may contain affiliate links. If you click through and make a purchase, we may earn a commission at no extra cost to you. We only recommend gear we’ve researched or genuinely believe in.